Changing brake pads can seem hard. A fact is, worn brake pads need replacing for your car to stop properly. This article shows you how to remove brake pads safely and easily. Let’s start!
Table of Contents
ToggleTools and Safety Gear Needed
For a smooth brake pad change, you need the right tools. Wrenches, sockets, a C-clamp or similar tool for the caliper, gloves, and safety glasses are must-haves.
Proper Wrenches and Sockets
Choosing the correct wrenches and sockets is essential for brake pad replacements. A set that can efficiently manage lug nuts, caliper bolts, and brake rotor fastenings is what you need.
Most cars make use of specific dimensions, usually between 10mm to 19mm for calipers, with bigger sizes intended for lug nuts. A torque wrench is equally essential. It plays an important role in ensuring that everything is tightened adequately, preventing any chance of damage.
Here’s an insight from a mechanic,
The right tool does half the job.
Quality tools will make your experience much more straightforward. Using a six-point socket on tight bolts helps to prevent them from rounding off. Keeping this in mind could help you considerably, sparing you unnecessary troubles during your brake task.
C-Clamp or Brake Caliper Tool
You need a C-clamp or brake caliper tool to push the piston back into its housing in the brake assembly. This step is crucial for making room for new brake pads. The C-clamp is a more common and versatile tool that can apply pressure evenly across the piston.
But, using a dedicated brake caliper tool makes this job easier and safer because it’s designed specially to fit the shape of the piston without damaging it.
Using either tool correctly helps prevent damage to other parts of your vehicle’s braking system, like the master cylinder or hydraulic brake lines. Make sure you turn them slowly and steadily.
This avoids putting too much force on any one part all at once. Plus, always wear gloves to protect your hands during this process.
Gloves and Safety Glasses
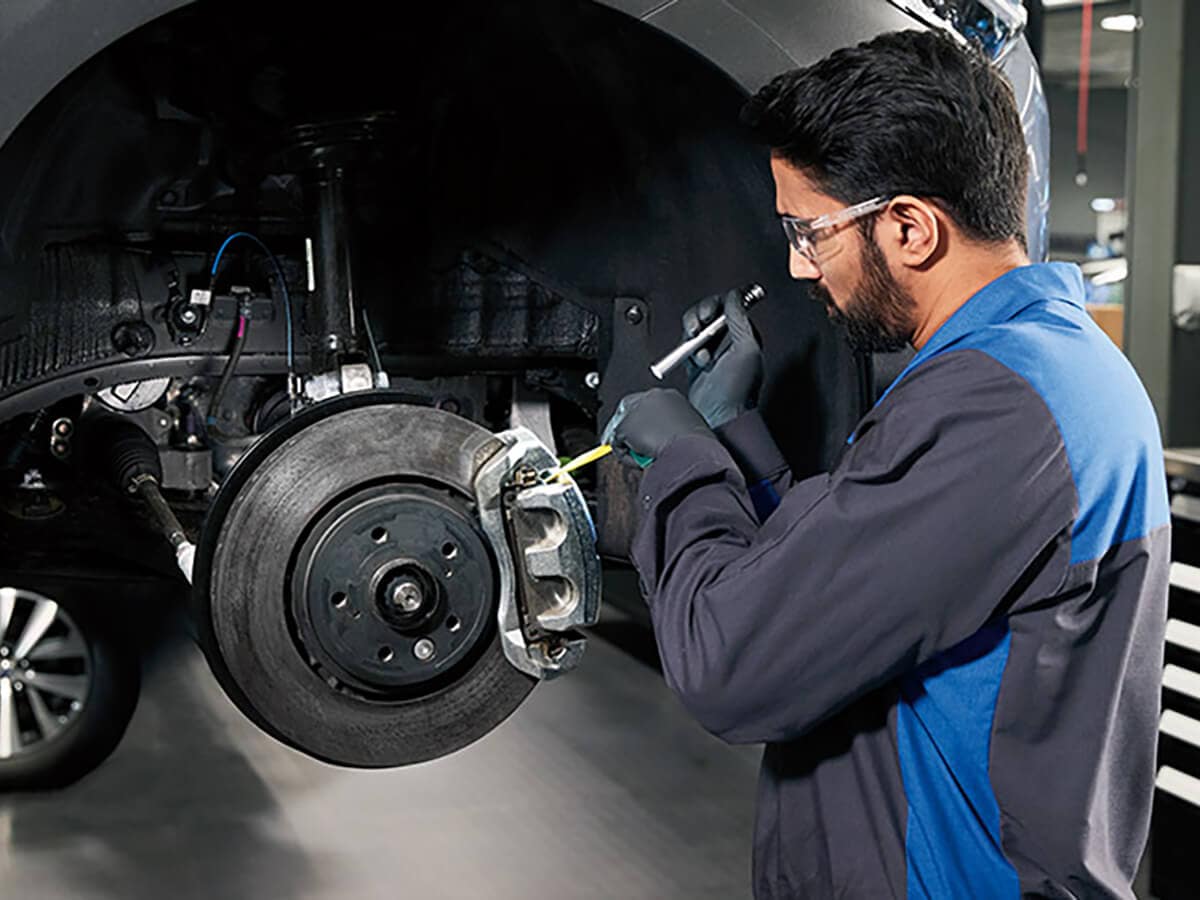
Wear gloves and safety glasses during brake servicing to protect your hands and eyes. Gloves keep your skin safe from grease, lubricant, and sharp edges of the brake system. They help you grip tools better too.
Safety glasses shield your eyes from dust, debris, and any small parts that might fly up while working on vehicle maintenance.
Changing worn brake pads involves handling various tools like wrenches, C-clamps, or brake caliper tools. Your hands are always close to the action. So wearing gloves cuts down on accidents.
Safety glasses are a must because eye injuries are serious. Small metal particles or even brake fluid can splash up without warning. These simple pieces of safety gear make DIY automotive repairs safer for everyone involved.
Preparing the Vehicle for Brake Pad Removal
To start, you need to lift your car safely. Use a jack and stands to make sure it won’t move. Then, take off the wheel to see the brakes clearly.
Lifting and Securing the Vehicle
First, you need to lift your vehicle. Use a jack from your toolset. Place it under the car at the right spot. This is usually near the wheels you are fixing. Make sure the ground is flat and strong.
Secure your car with jack stands after lifting. Never rely just on the jack to hold it up. Safety first means making sure your car won’t fall while you work.
Always double-check that your vehicle is stable before starting any work underneath.
Removing the Wheel Safely
Park your vehicle on a flat surface and turn off the engine. Use the parking brake to make sure your car does not move. Get the jack, lug wrench, and wheel blocks from your trunk. Place wheel blocks in front of and behind the wheels that you are not going to remove.
This stops the car from rolling.
Lift your car with the jack at its specific lifting point near the wheel you want to work on. Check your vehicle’s manual if you’re unsure where this is. Once high enough, slide a sturdy support stand under the vehicle for extra safety before fully removing the tire.
Use your lug wrench to loosen but not completely remove each lug nut holding the wheel in place. Do this step by step in a star pattern if working on disc brakes or as directed for drum brakes systemsf foundinyourusermanual.
After loosening them, lift off 2the wheel safelyfromyourcar.Setitasideinasecurespotwhereitwon’trollawayorcauseatrip hazardwhileyouworkonthediscbrakeoranyotherbrakecomponents .
Assessing the Condition of the Brake Components
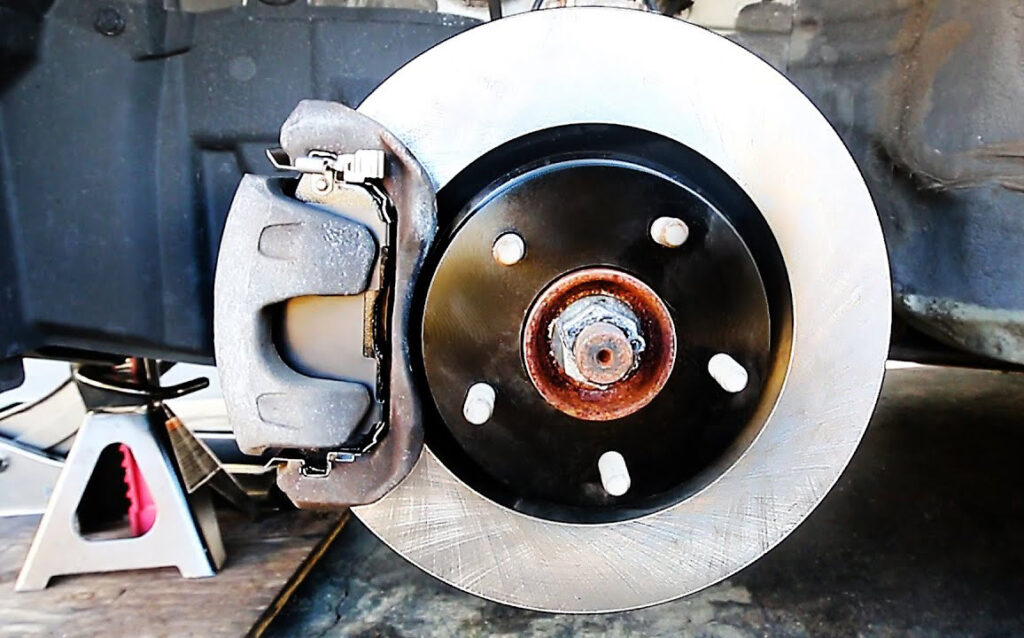
Check the brake parts before you start. Look at the brake rotors. They should not have deep lines or rough spots. If they do, you might need new ones. The caliper must move easily too.
If it sticks, fixing your brakes could be hard.
Also, inspect the brake system for any leaks or damage. Make sure no fluid is leaking from around the calipers or anywhere else in the braking system. Check every part carefully to avoid future problems with your car’s brakes.
Step-by-Step Guide to Removing Old Brake Pads
Follow these simple steps to remove old brake pads, ensuring you have the right tools like wrenches and a C-clamp. First, loosen the caliper bolts and carefully move the caliper aside.
Then take out the worn pads, checking them and the caliper for any damage along the way. This guide aims to make changing your brake pads easy and safe, encouraging you to learn more about maintaining your vehicle’s braking system.
Removing the Caliper Bolts and Retracting the Caliper
First, you will need the right tools to remove the caliper bolts. A torx wrench or socket set is essential here. Grab your wrench and turn the bolts counter-clockwise. You might find them tight; keep pushing until they loosen.
Always wear gloves to protect your hands during this process.
After removing the bolts, carefully pull back the brake caliper. It’s not attached by any other parts but be gentle to avoid damaging it. Sometimes, it can be stiff and require a little force.
Using a C-clamp or a brake caliper tool helps push the piston inside back into its housing. This makes room for new pads later on. I learned this technique from my first DIY brake change; it’s simple once you get the hang of it.
Taking Out the Old Brake Pads Carefully
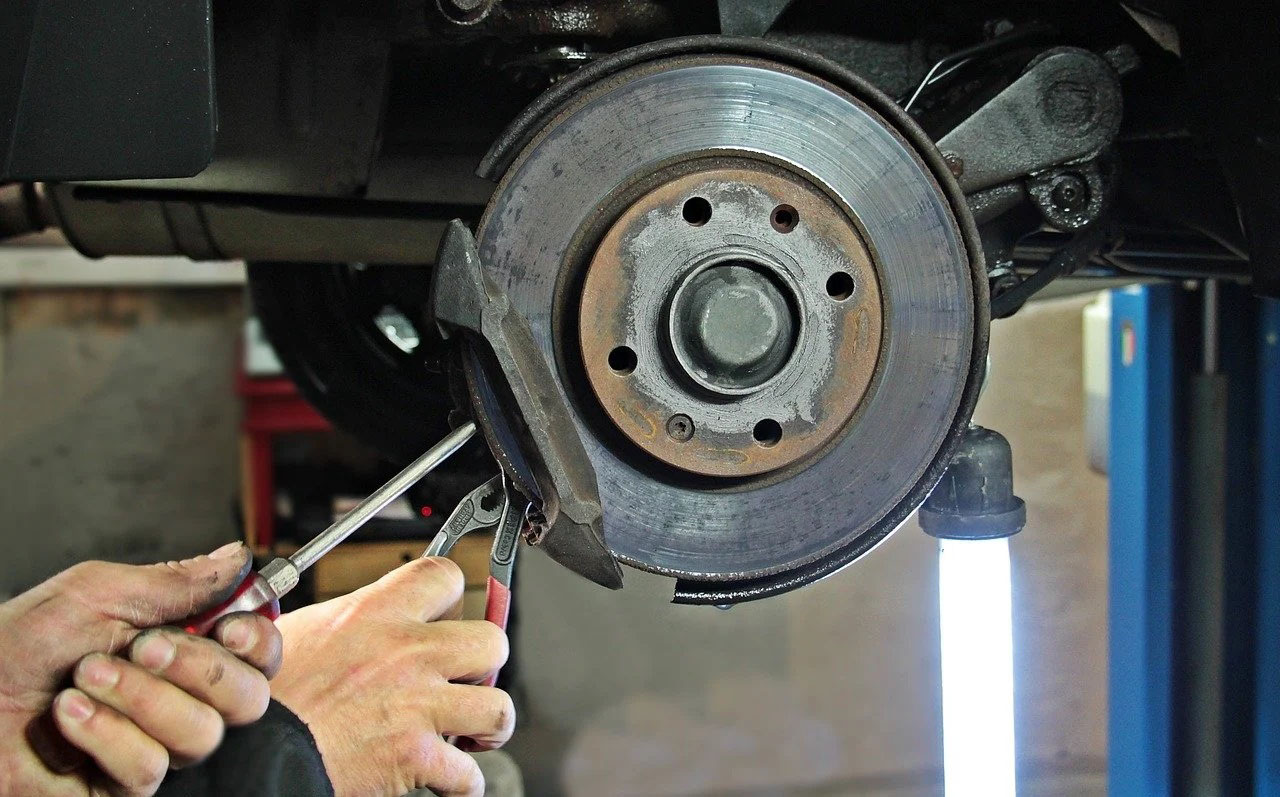
You need to take out the old brake pads with care. First, use a tool like pliers to remove the retaining clips that hold the pads in place. The pads will slide out easily if you do this right.
Make sure not to touch the friction surface of these used parts because it can be harmful.
Once removed, check these pieces and the caliper for any signs of wear or damage. If things look worn out more than they should, you might need new parts besides just the pads. Always handle these old components gently to avoid damaging other parts of your brake system during removal.
Inspecting the Pads and Caliper for Damage
Check the pads and caliper for any signs of damage once you remove the old brake pads. Look for cracks, uneven wear, or metal pieces on the pad surface. These can mean your brakes were working too hard.
The caliper should also be free from leaks and not stick when pressing it.
If you find damage, replacing these parts is crucial before putting in new brake pads. This step ensures your car stops smoothly and safely. I learned this the hard way after ignoring a tiny crack, leading to a bigger repair job later on.
Always double-check every part during this inspection phase to avoid future problems with your vehicle’s braking system.
Handling Brake Components with Care
Handling brake parts needs care. Touching the part of the brake pad that touches the wheel can harm it. Be gentle with caliper pistons and their tracks to avoid damage. After taking off the old pads, put them in a safe spot until you throw them away.
Avoiding Contact with Brake Pad Friction Surface
You should not touch the brake pad’s friction surface. This part of the pad touches the vehicle’s wheel disc. Oils from your skin can get on it and make your brakes work poorly. Wear gloves to keep this from happening.
This keeps both you and your car safe.
Brake pads have materials that might be harmful if they touch your skin or if you breathe them in. Always work in a well-ventilated area. Keep brake components clean but do not use compressed air, which could spread harmful dust around.
Instead, gently wipe parts with a damp cloth to remove any dirt or grease.
Preventing Damage to Caliper Pistons and Slides
Preventing damage to caliper pistons and slides is key in brake systems. Keep the parts clean. Avoid oil or grease on them. Grease can make brakes work poorly. A C-clamp or a brake caliper tool helps push the piston back without harm.
But, do this slowly and evenly.
Use care with the slides too. They let the caliper move free so your car stops right when you press the pedal. Don’t force them out of their place. Check for wear or damage before putting them back.
If they’re not right, it may be time for new ones.
Storing Old Pads Safely for Disposal
After you remove used brake pads, put them in a sturdy bag. This stops brake dust from spreading. Brake dust can harm your lungs if you breathe it in. A heavy-duty plastic bag works well for this.
Find a place that takes old brake pads. Many auto parts shops will accept them and make sure they are disposed of right. Keeping them away from children and pets is important until you can dispose of them properly.
Conclusion
Safely taking off old brake pads is a task achievable with the correct tools and knowledge. Make sure to utilize wrenches, sockets, and a C-clamp or caliper tool. Never forget to wear gloves and safety glasses for your protection.
Securely lift your car and remove the wheel prior to assessing the brakes for any potential damage. Pay strict attention to each step to get the brake pads off without harming other components like caliper pistons or slides.
Handling all parts with caution underlies the prevention of accidents or damage. Once completed, make sure to discard old pads appropriately. This guide aids in maintaining your vehicle’s optimal performance while prioritizing your safety during repair work.
FAQs
What tools are needed for brake pad replacement?
To safely remove worn brake pads, you will need specific tools such as a lug wrench, socket and ratchet set, C-clamp, and new brake pads.
How can I safely change my vehicle’s brake pads?
You can ensure safe removal of worn brake pads by following a step-by-step guide to removing brake pads that outlines precautions when changing them. This includes wearing safety gear like gloves and goggles, using the correct tools, and properly disposing of old brake pads.
Are there any important safety tips to keep in mind while replacing my car’s brake pads?
Yes! It’s crucial to remember not to force the caliper open with excessive pressure from your tool use during the process as this could damage your motor or other parts of your vehicles braking system.
How should I dispose of old used car brakes after replacement?
Used car brakes or old worn-out edmunds should be disposed at designated recycling facilities or auto-parts stores that accept these items for proper disposal according to environmental regulations.


