You notice your car vibrates when you brake. This could mean your brake rotors are not even. Learning how to measure brake rotor runout can pinpoint this issue. This article guides you through each step, from the tools needed to fixing high runout.
Let’s get started!
Table of Contents
ToggleWhat is Brake Rotor Runout?
Brake rotor runout is when the rotor does not spin perfectly straight on the axle. This problem can make your brakes feel shaky and lower how well they work.
Definition and Impact on Braking Performance
Brake rotor runout means the rotor is not completely flat or has variations in thickness. Imagine you’re driving and your car shakes when you brake. This could be because of high rotor runout.
It makes braking uneven, affects vehicle handling, and can make stopping distances longer. Over time, it also causes more wear on your brake pads.
If your rotors aren’t straight, every stop wears down your brakes a little faster.
I found this out firsthand when my own car started vibrating during stops. After measuring the runout with a dial indicator gauge, I discovered one rotor was slightly warped. This small warp made a big difference in how my car stopped and felt on the road.
So, keeping rotors in good shape is key for safe and smooth driving.
Causes of Excessive Rotor Runout
Excessive rotor runout can happen for a few reasons. One common cause is uneven mounting surfaces. This occurs if the wheel hub or the area where the rotor sits has corrosion or dirt.
These tiny bits create a space that makes the rotor sit unevenly. Another reason is over-tightening lug nuts with an impact wrench. This can warp the rotor from too much pressure on one side.
You might also face this issue after putting new rotors on old, worn-out hubs and bearings. The wear and tear on these parts mean they don’t support the rotor as they should. Every time you hit a bump, it puts stress on parts that aren’t as strong anymore, leading to warping over time.
Using low-quality rotors can also lead to excessive runout faster than expected because they may not handle heat well during braking, causing them to deform.
Tools and Equipment Needed to Measure Brake Rotor Runout
To measure brake rotor runout, you need a few key items. A dial indicator with a pointing device and a magnetic stand keep things steady, while a torque wrench helps put the wheel back on right.
Dial Indicator Gauge
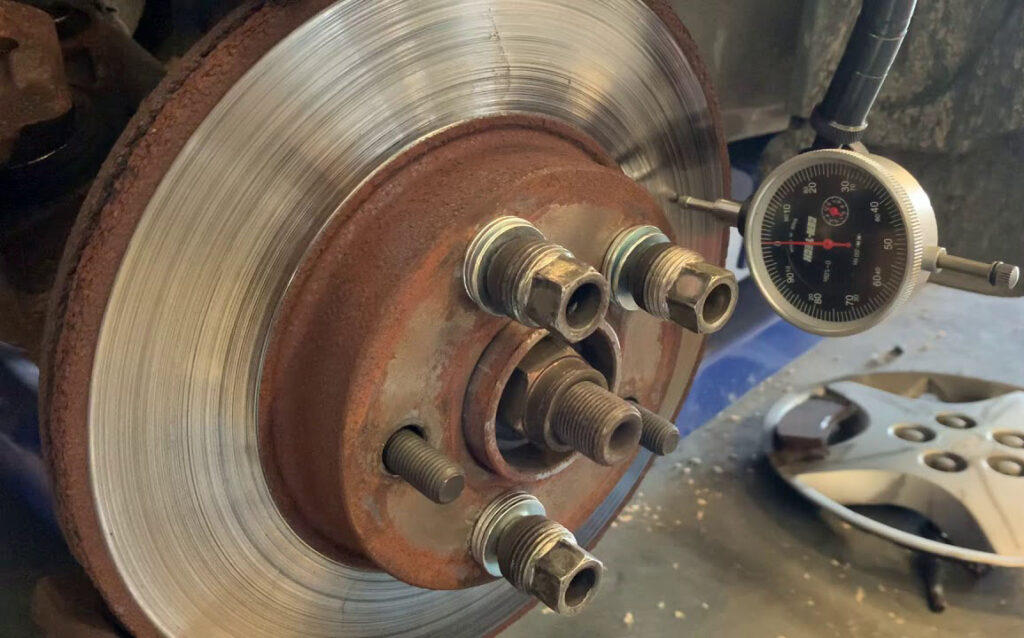
A dial indicator gauge is a tool you need for measuring brake rotor runout. It shows how much the rotor wobbles as it turns. You attach this gauge to a solid spot near the rotor, using tools like magnetic bases for stability.
The needle on the gauge moves when there’s any unevenness on the spinning rotor’s surface. This movement tells you if your rotors are straight or not.
Using this tool helps find out tiny problems with rotors that could make your car drive roughly or wear out brake parts too fast. You look at where the needle points and write down the highest and lowest spots it hits while you turn the rotor by hand or use a small motor.
Then, compare these numbers with what your car maker says is okay to see if you need to fix anything.
Magnetic Base for Stability
A magnetic base plays a big role in measuring brake rotor runout. This tool sticks to metal surfaces, giving your dial indicator gauge a stable spot. You need stability for accurate readings.
Imagine trying to measure with the gauge moving around; you wouldn’t trust those numbers.
I once used a magnetic base to check my car’s rotors. I found it easy to attach and adjust on different parts of the brake system. It stayed put, no matter how much I moved the dial indicator around the rotor surface.
This experience showed me how crucial a steady setup is for getting true measurements and making sure your vehicle handles well on the road.
Torque Wrench for Rotor and Wheel Reinstallation
You need a torque wrench for reinstalling the rotor and wheel. It helps you apply the correct amount of force to the bolts. This step is key to keep your vehicle stable and ensure everything runs smoothly.
Using the right force stops parts from becoming too tight or too loose.
Pick a torque wrench that fits your car’s specifications. Bolt sizes vary, so check which one works for yours. When you tighten bolts, follow a star pattern. This balances the pressure across the wheel.
Each car has its bolt force requirement; look this up in your manual or online before starting.
Step-by-Step Guide to Measuring Brake Rotor Runout
Measuring brake rotor runout correctly is key to ensuring your brake system works smoothly. Follow these steps, using tools like a dial indicator and a torque wrench, to check if your rotors meet the manufacturer’s standards for smooth braking.
Preparing the Vehicle: Lifting and Securing
First, park your car on a flat surface. This makes sure it’s stable. Use a jack to lift the vehicle off the ground gently. Place jack stands under the car for extra support. Make sure these stands touch solid parts of the car’s underside, like the frame or axle.
Next, check that your car is securely sitting on the jack stands before you start working on it. Give it a gentle shake to ensure stability. This safety step keeps you safe while measuring brake rotor runout and doing other repairs.
Setting Up the Dial Indicator on the Rotor Surface
Place the magnetic base on a solid part of your brake system, away from the rotor to avoid any movements. This setup will hold your dial indicator in place. Attach the dial indicator’s arm so it lightly touches the rotor’s surface.
Make sure it touches near the edge but not on painted areas or rust, as these can give wrong readings.
Rotate the rotor slowly by hand, watching the dial gauge closely. The needle moves with each tiny bump and dip on the rotor surface. Mark any high spots you notice with chalk or a marker for easy identification later.
Accuracy is key when measuring brake rotor runout; even small errors can affect vehicle handling.
Rotating the Rotor and Recording Measurements
Turn the rotor slowly by hand. Keep an eye on the dial indicator gauge. This tool helps you see how much the rotor wobbles as it turns. You want to make sure this wobble, or runout, is not too high.
Write down the highest number you see on the gauge as you turn the rotor a full circle. This is your measurement of how straight or bent the rotor is.
Check these numbers against what your car’s maker says is okay. Every vehicle has its own set of rules for acceptable rotor runout levels. If your measurement is higher than what’s allowed, your brake system might not work right and could cause your car to handle poorly.
Comparing Readings to Manufacturer Specifications
After you measure the brake rotor runout with your dial indicator gauge, check these numbers against what the car maker says is okay. Each car has its own set of rules for acceptable runout levels for brake rotors.
These specs can often be found in the vehicle’s repair manual or through a quick search online. Your readings should fall within these guidelines to ensure your car handles well and stays safe on the road.
If your measurements are higher than what’s recommended, this means the rotor might be warped or not sitting right. This could lead to shaky brakes and poor handling of your vehicle.
You then need to decide if you should make the rotors smooth again or get new ones entirely. Always use a torque wrench when putting everything back together to avoid this issue in the future.
Interpreting Brake Rotor Runout Results
Understanding your brake rotor runout results helps you know if your rotors are within safe limits. If measurements show too much runout, it may be time to fix or replace the rotors to keep your ride smooth and secure.
Determining Acceptable Runout Tolerances
Check your vehicle manual for the maker’s tolerances on rotor runout. Most vehicles have a threshold that should not exceed 0.003 to 0.005 inches. Using a dial indicator gauge, you can measure how much your brake rotor wobbles as it turns.
This wobble should stay under the specified limit. Going over means your rotor is likely warped and might affect handling or lead to further damage.
Always measure twice to ensure accuracy, as any error might suggest a need for resurfacing or replacing rotors that are actually fine.
Identifying When a Rotor Needs Resurfacing or Replacement
You find out if a rotor needs fixing or changing by looking at runout results. If measurements show more runout than the car maker says is okay, you must act. Often, this means the rotor has uneven wear or damage.
Look for signs like deep grooves or marks on the surface. These are clues that it’s time to either make the rotor smooth again or get a new one.
Use tools like dial indicators and torque wrenches for accurate checking. A dial indicator helps see tiny differences in how flat the rotor’s surface is. A torque wrench makes sure everything fits just right when putting parts back together after checking or fixing them.
This careful process keeps your brake system working well and your vehicle safe on the road.
How to Correct Excessive Rotor Runout
Fixing high rotor runout involves a few key steps. You might need to tighten rotors again to fix uneven mounting, or sometimes you must replace the bent rotors. Check hub and bearing for any issues too, as they can cause problems with rotor balance.
Re-Torquing Rotors to Correct Uneven Mounting
You can fix uneven rotor mounting by re-torquing rotors. This means you adjust the tightness of the bolts that hold the rotors in place. First, use a torque wrench to tighten these bolts to the car maker’s suggested level.
Make sure all bolts get the same amount of force. This step is key for your brakes to work well and safely.
Doing it yourself? Here’s what happened when I tried it. My car shook every time I hit the brakes, telling me something was off with my rotors. After lifting my car and removing the wheels, I checked each bolt with a torque wrench, adjusting them as needed.
The result was smoother braking and no more shaking. It proved how important even mounting is for vehicle stability and brake system performance.
Resurfacing or Replacing Warped Rotors
Resurfacing or replacing warped brake discs is a key step to fixing high rotor runout. If measurements show your rotors are out of the acceptable range, you need to act. Warped rotors cause braking vibration and can harm vehicle handling.
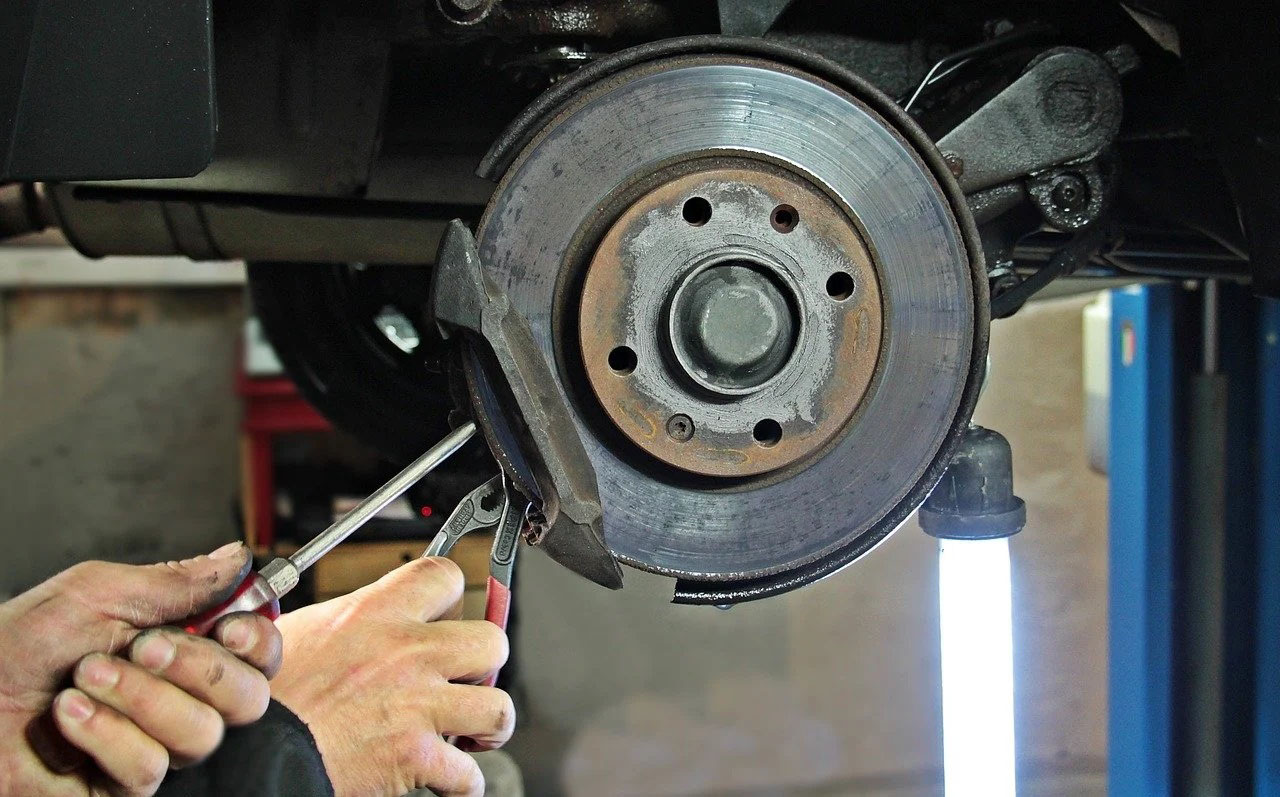
Mechanics use machining tools to even out the rotor surface when resurfacing. This process removes uneven spots caused by wear or heat.
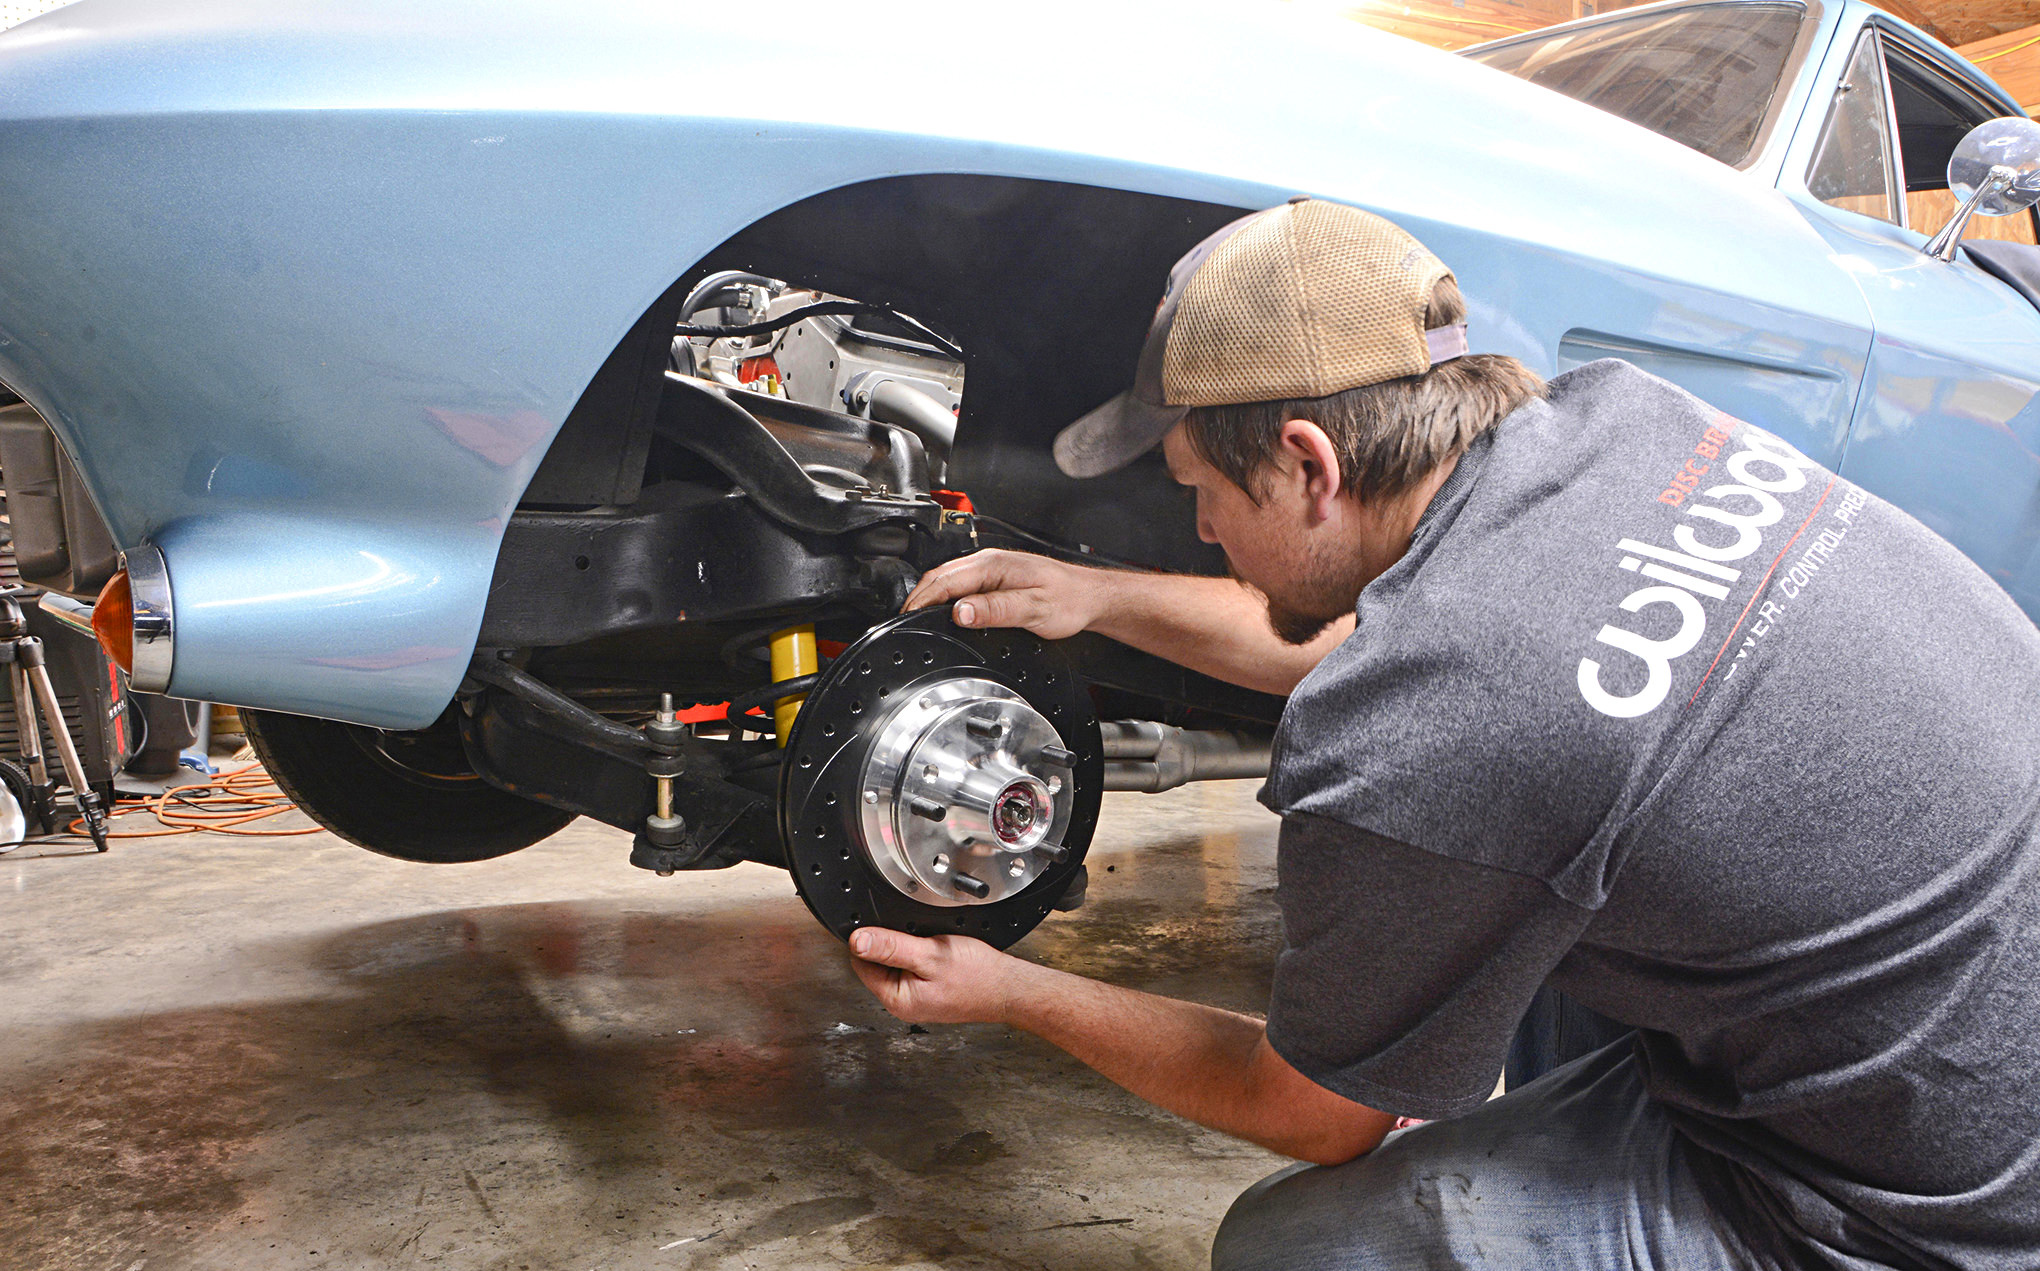
Replacing the rotor might be necessary if it’s too thin after machining or damage is severe. New rotors ensure smooth braking and proper vehicle control. Always check hub and bearing conditions during this repair because they impact rotor balance and alignment.
Smooth brakes are safe brakes – keep your rotors in top shape for best performance.
Checking for Hub and Bearing Issues
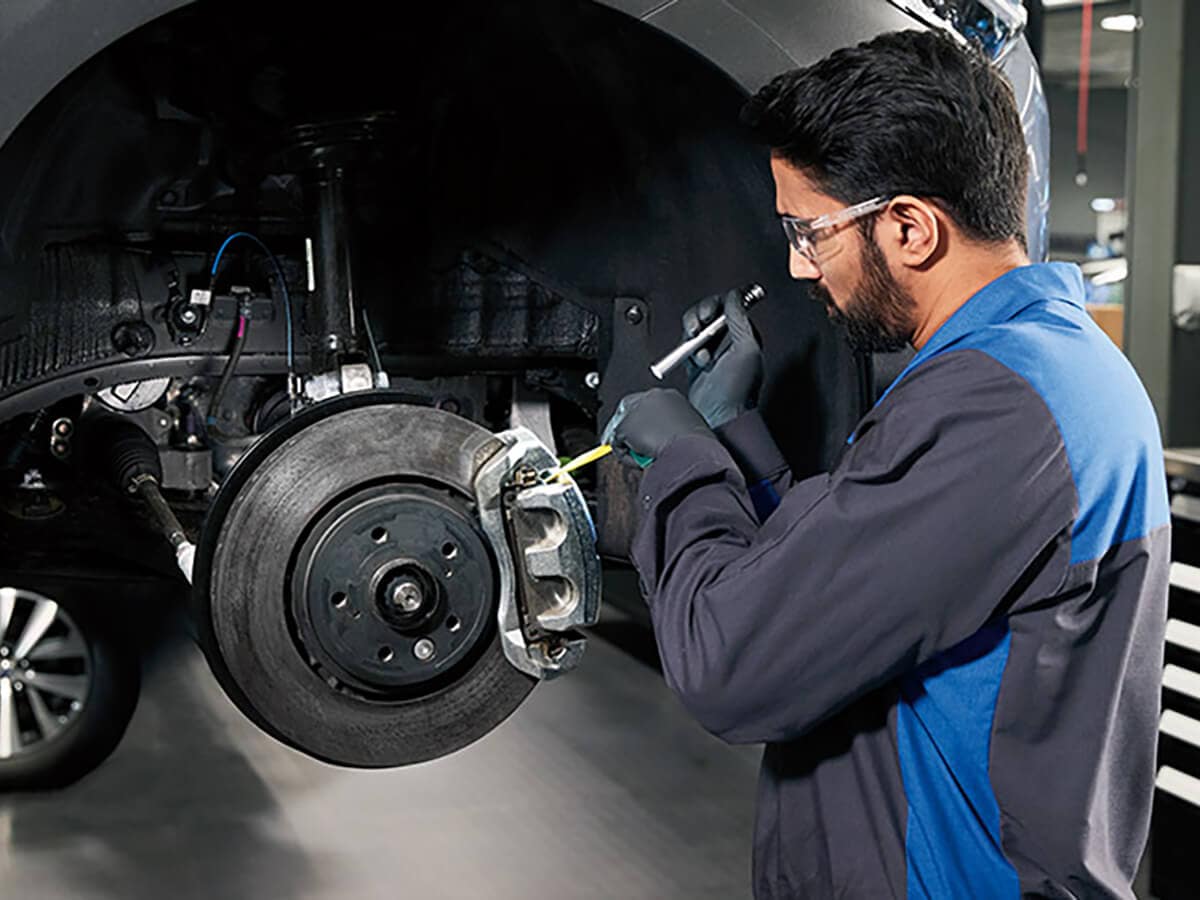
To check for hub and bearing issues, you first need to look at the wheel bearings. These are parts that let your car’s wheels spin freely. Use a jack to lift your car and secure it with stands.
Then, grab the wheel on both sides and rock it back and forth. If you feel play or hear grinding noises, your wheel bearings may be bad.
Next, inspect the hub for damage or wear. The hub holds your car’s wheels in place. Look closely for cracks or anything unusual. Use a screwdriver to poke around gently; if parts fall off or seem loose, this is not good news.
I learned this method after years of fixing cars in my garage – simple but very effective.
Conclusion
Measuring brake rotor runout is key for safe driving. You learned about tools like dial indicators and torque wrenches, which help check the rotors. Following steps carefully makes sure your brakes work well.
If you find high runout, fixing it can include adjusting how tight the rotor fits or replacing it. This keeps your car running smoothly and safely on roads.
FAQs
What tools do I need to measure brake rotor runout?
To measure brake rotor runout, you’ll require specific automotive repair tools such as a dial indicator with an arbor and calipers.
How does rotor runout affect vehicle handling?
High rotor runout can create uneven friction during braking, leading to vibrations that affect the car’s handling. It may also trigger wheel speed sensors, causing false readings.
Could you guide me through the steps to check for rotor runout?
Firstly, ensure your brake system is clean using appropriate cleaning agents. Then attach the dial indicator to a stable point and set it against the rotor surface in a clockwise direction. Rotate the wheel slowly while noting any changes on the dial indicator – this will help identify high points of runout.
What happens if my vehicle has high rotor runout?
If your vehicle has high rotor runout, it could lead to issues like bluing of rotors due to excessive heat from uneven friction or false signals from wheel speed sensors which affects ABS functioning.
How can I correct high rotor runout in my vehicle?
Correcting high rotor burnishing involves removing excess material until balance is restored within acceptable limits; however, extreme cases might require replacement of rotors or alloy wheels.


