You’re thinking of upgrading your car’s brakes. A key fact is that many are choosing to switch from drum to disc brakes for better safety and performance. This article will guide you through how to change drum brakes to disc brakes, making the process clear and straightforward.
Let’s get started.
Table of Contents
ToggleWhat is a Disc Brake Conversion?
A disc brake conversion changes your car’s brakes from drum to disc. This upgrade improves how quickly and safely your car stops.
Definition and Purpose of a Disc Brake Conversion
A disc brake conversion swaps the drum brakes on a car with disc brakes. This change can make your car stop faster and more safely. Drum brakes used to be common, but disc brakes cool down quicker and handle moisture better.
This means you get better stopping power, especially under heavy use or in wet conditions. People often do this upgrade for safety, performance, or both.
Benefits include less brake fade and more consistent braking. Brake fade happens when your brakes lose power after lots of use. With discs, this problem is much smaller because they cool off faster than drums.
Cars that tow heavy loads or go very fast benefit a lot from this switch.
Upgrading to disc brakes offers not just improved safety but also enhances vehicle handling.
Benefits of Converting from Drum to Disc Brakes
Switching from drum to disc brakes offers better performance and safety. This upgrade is popular among car enthusiasts and for good reason.
- Improved stopping power: Disc brakes provide more effective stopping than drum brakes. The design of disc brakes allows them to dissipate heat more quickly. This means you can stop faster, especially when driving fast or in heavy traffic.
- Better heat dissipation: Disc brakes cool down faster than drum brakes. In a drum brake, the components are enclosed, which traps heat inside. Overheated brakes can lead to brake fade, where your vehicle takes longer to stop. Discs are exposed to air, so they cool down more quickly.
- Less maintenance: Disc brake systems generally require less upkeep than drum brakes. Brake pads on disc systems wear down slower than the brake shoes in drum systems. This means fewer replacements and less time spent on brake maintenance.
- Easier to service: When you do need to work on your brakes, disc systems are easier to access and repair than drum brakes. You don’t have to remove the wheel hub like you would with a drum brake, making it simpler for DIY projects or quick fixes at the shop.
- Performance in wet conditions: Disc brakes outperform drum brakes in wet weather. The design of disc brakes allows water to be easily wiped away from the braking surface during use, maintaining optimal braking even in rain or snow.
- Compatibility with modern tires and wheels: If you’re upgrading your vehicle’s wheels and tires for better performance or appearance, converting to disc brakes ensures that your braking system can handle the additional demands of larger tyres or heavier wheels.
- Increased value and appeal: Vehicles with disc brake conversions often have higher resale values and are more attractive to buyers looking for upgraded features or classic cars with modern safety improvements.
Each benefit comes from real experiences by those who’ve upgraded their vehicles from drum to disc braking systems—showing firsthand how this change enhances driving performance, safety, and overall vehicle worth.
Components Involved in a Disc Brake Conversion
A disc brake conversion needs several parts to work right. These include round metal discs, squeezing devices for the discs, pads that press against the discs, and special brackets to hold everything in place.
You also need tubes for brake fluid and a device to make sure the pressure is even when you apply the brakes.
Disc Rotors and Calipers
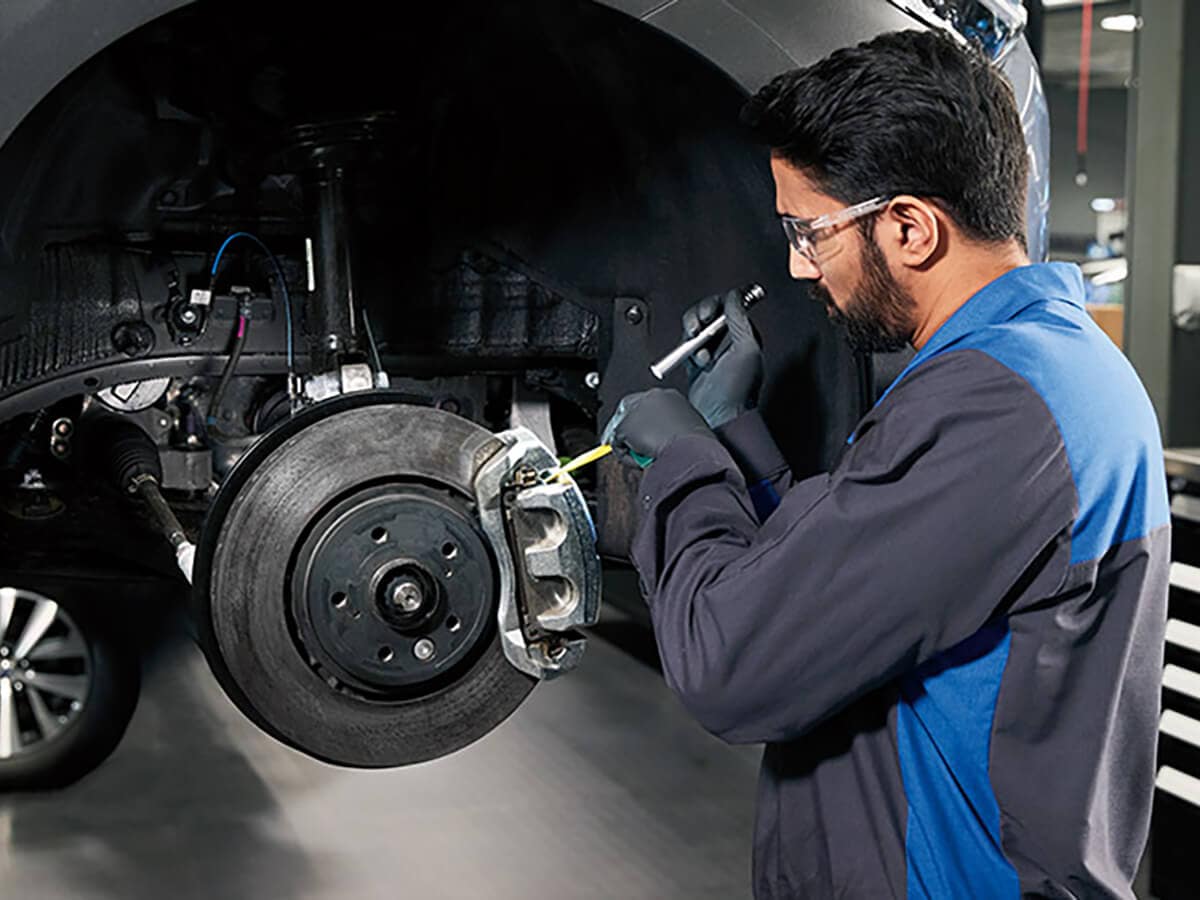
Disc rotors and calipers are key parts of your brake system. Think of the disc rotor as a metal disc that spins with your wheels. The caliper squeezes this rotor to help stop your car.
It’s like using your hands to slow down a spinning plate.
I once upgraded my truck with new brake discs and calipers. I found that larger, thicker rotors handle heat better and improve braking. Calipers have pistons inside them. More pistons mean more power can press on the rotor, making stopping quicker and safer.
Using tools like ratchets, sockets, and an Allen key, you can install these parts yourself. Make sure everything fits right for the best performance. This upgrade is great for cars used in high-performance or heavy-duty driving.
Brake Pads and Mounting Brackets
Brake pads and their holding parts are key to changing your car’s brakes from drum to disc. The brake pad is the part that presses against the spinning disc or rotor to stop your car.
These are held in place by mounts called brackets. Using high-quality pads can make a big difference in how well your car stops.
Mounting brackets need to be strong because they handle a lot of force when you brake. They keep the brake pad lined up so it hits the rotor just right. If this setup is wrong, your brakes might not work as they should.
Upgrading to disc brakes means paying attention not just to the shiny new parts but also to essentials like quality brake pads and sturdy mounting brackets.
I once helped a friend switch his classic muscle car from drum brakes at the back to discs all around. We noticed that better brake pads meant less dust on his wheels and more stopping power on roads.
Plus, we found out making sure our new brackets matched our vehicle saved us trouble later during install.
Brake Lines and Proportioning Valve
Your disc brake conversion isn’t complete without updating the brake lines and adding a proportioning valve. Brake lines, made from durable materials like steel, connect the master cylinder to calipers.
They carry brake fluid that helps stop your car. Over time, old lines might leak or burst, especially after you’ve upgraded to disc brakes. That’s why getting new ones is crucial.
A proportioning valve plays a key role too. It adjusts the pressure between front and rear brakes. Since most cars use more force on the front brakes, this balance is vital for safe stopping without skidding.
I learned this firsthand when converting an old truck of mine; balancing that pressure made all the difference in braking smoothly.
Step-by-Step Process of a Disc Brake Conversion
When you decide to switch from drum brakes to disc brakes, you start a project that upgrades your car’s stopping power. You’ll take off the old drum components first, then put on new disc parts like rotors and calipers.
This change makes your car stop better and more safely.
Removing the Drum Brake Components
If you’re considering upgrading your vehicle’s drum brakes and moving towards the safety and improved stopping power of disc brakes, here’s your step-by-step guide to dismantling the drum brake system:
- Situate your car on an even surface, keeping it static using wheel chocks.
- With a tire iron, begin to dislodge the lug nuts on your wheels, then proceed to elevate your car with a jack.
- To reveal the drum brake system, take off the wheels.
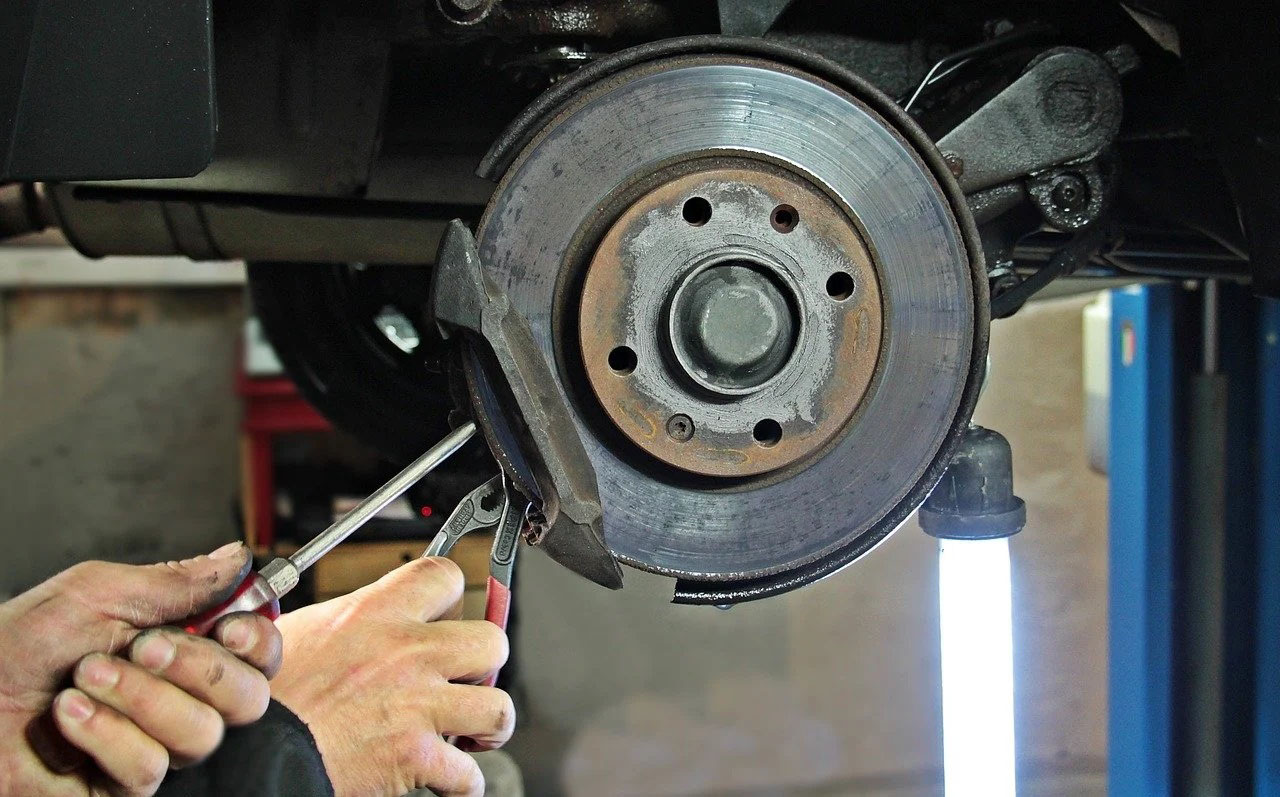
- Detach the drum cover, which may require force if rust or dirt has caused it to adhere to the wheel hub.
- Once the cover has been detached, you’ll notice the brake shoes.
- Disconnect the brake shoe springs, ensuring to be careful as they are tensioned.
- If present, disconnect the adjuster cable and dismantle the adjuster assembly.
- Locate the brake line and delicately unscrew it with a wrench. Be prepared for brake fluid leakage and have a container ready.
- Use needle-nose pliers to remove any retaining clips or pins holding the brake shoes.
- You can now extract the old brake shoes, which may require some manipulation.
- If it exists, disassemble the wheel cylinder using a socket wrench.
I’ve personally utilized this procedure countless times for upgrades and repairs in my garage and workshop. This methodology is effective for enhancing vehicle performance or preparing vehicles for demanding tasks such as towing. It’s also beneficial for restoring classic cars to improve their traditional braking systems. Vehicle modification isn’t just about aesthetics; it’s also about enhancing safety and reliability. By upgrading braking systems, we can improve efficiency and longevity, thus ensuring comfort during daily commutes.
This meticulous process is part of a broader passion shared by car enthusiasts, who strive to maintain the historic integrity of their vehicles while also integrating modern technology. We are actively navigating the continuous advancements of the automotive industry to create safer roads for everyone. This shared pursuit is more than just an individual effort; it’s a collective journey that unites car lovers worldwide. Our collective efforts today contribute to the brighter, safer future of motoring. This relentless pursuit exemplifies the resilience of the human spirit, a testament to mankind’s ability to adapt to and overcome challenges.
Installing the Disc Brake Caliper and Rotor
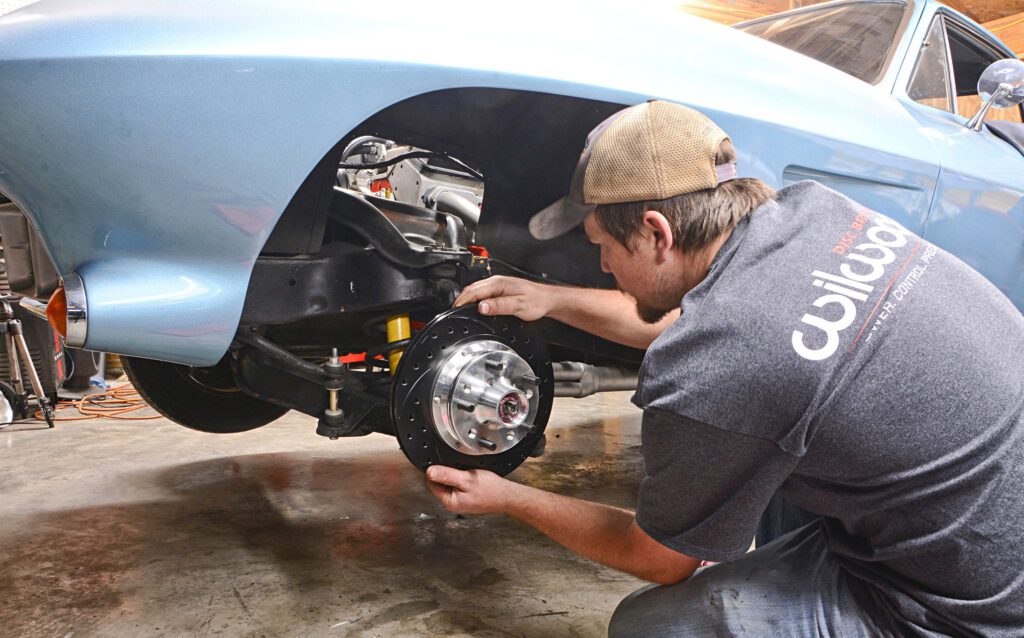
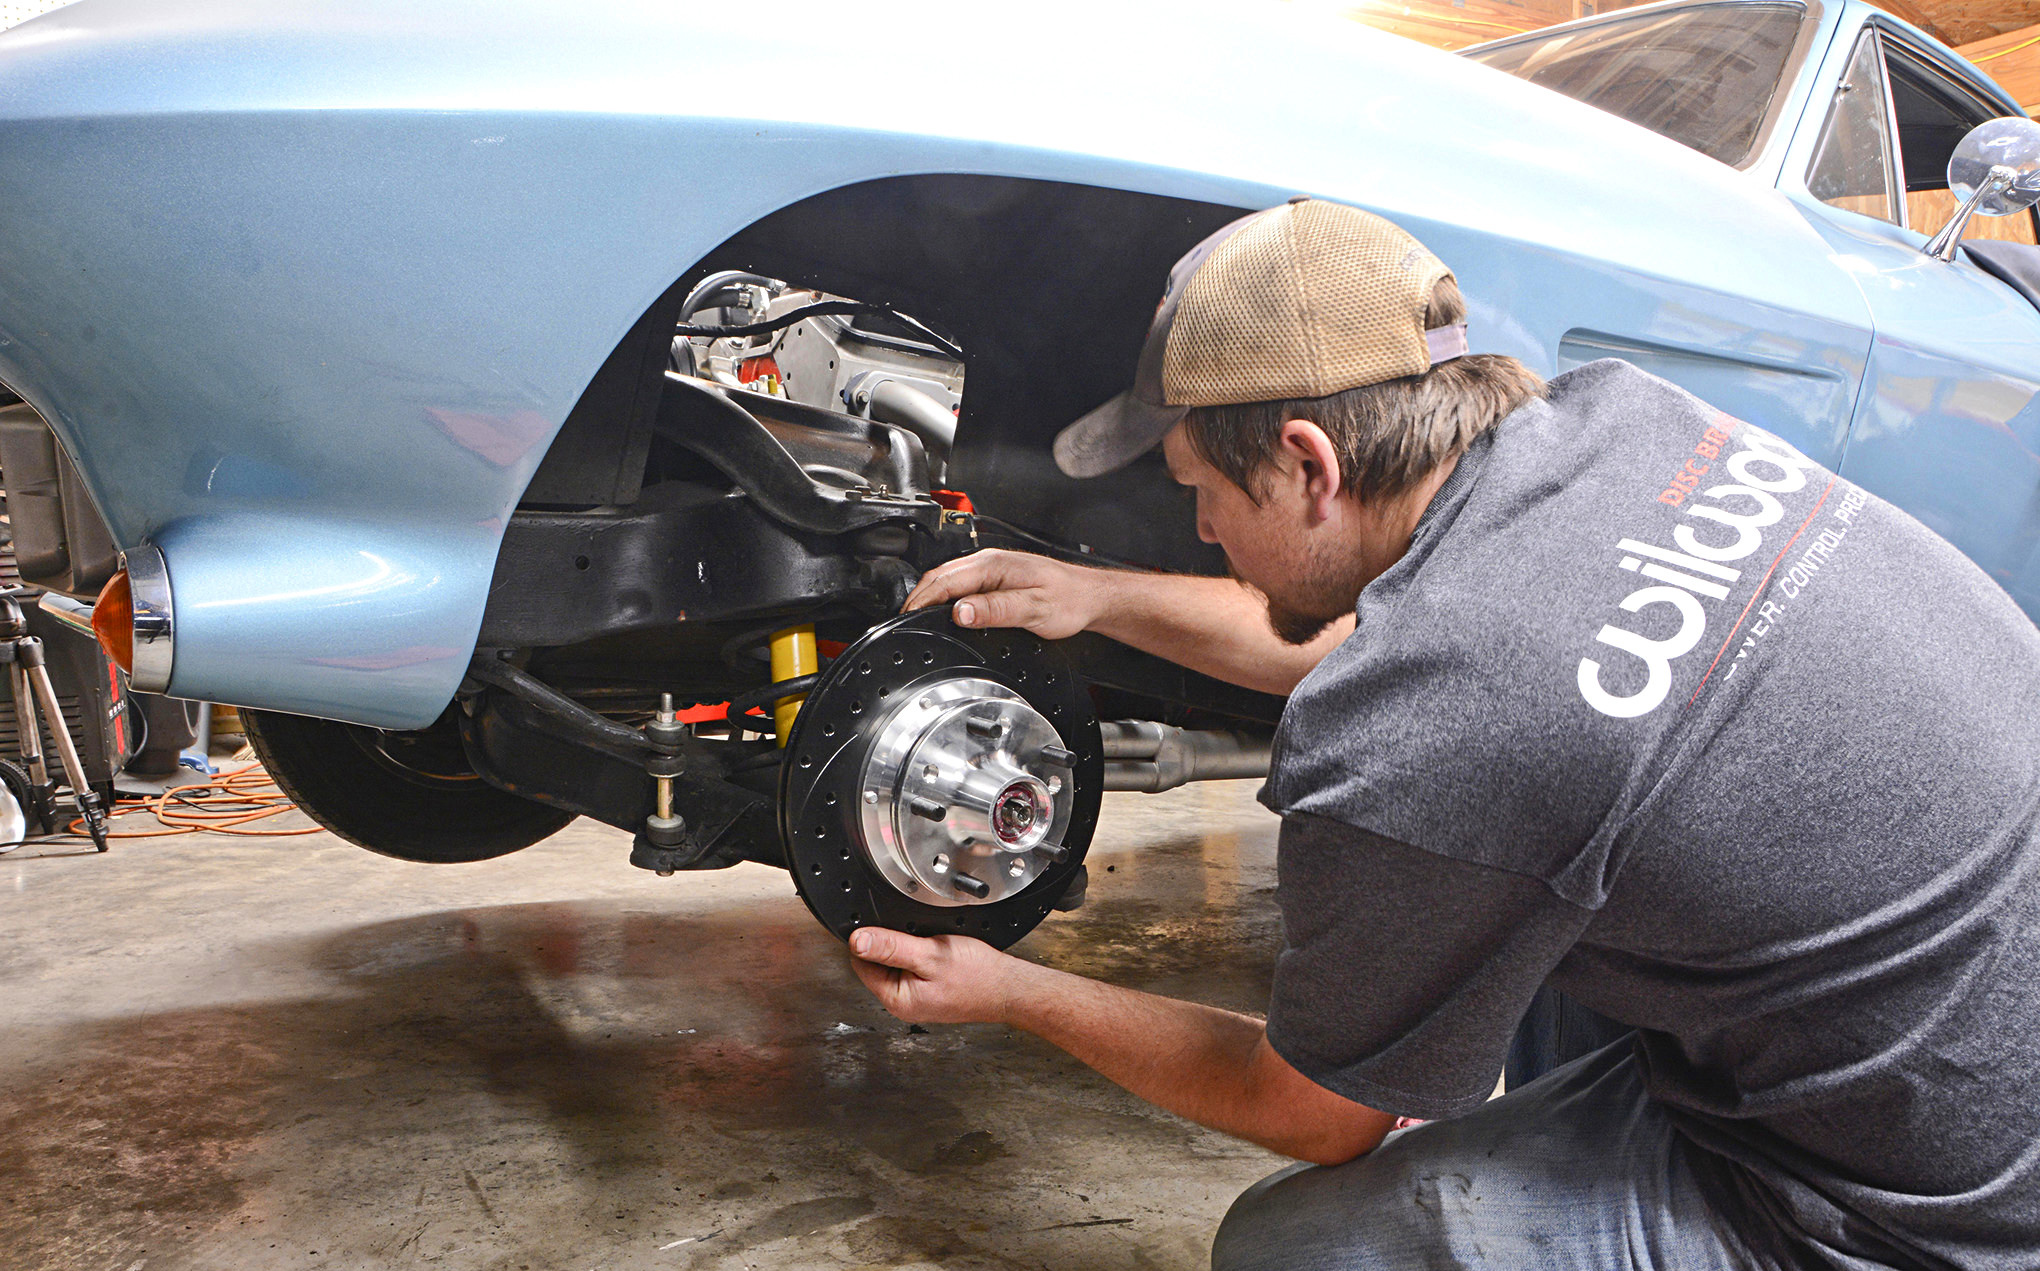
Installing the disc brake caliper and rotor is a crucial step in converting drum brakes to disc brakes. This process improves your car’s stopping power and safety.
- You need to buy a disc brake conversion kit. It includes all necessary parts.
- Jack up your car and support it on jack stands to ensure safety while working.
- Remove the wheel to access the brake area.
- Take off the drum brake components, including the brake drum and shoes.
- Clean the area where you will install new parts. This helps avoid any issues caused by dirt.
- Install the new mounting brackets that came with your kit onto the axle flange.
- Place the disc rotor onto the wheel hub. It might just slide into place over lug bolts.
- Mount the new caliper onto the bracket you attached earlier. Calipers should be snug but move freely.
- Connect new brake lines from the caliper, ensuring there are no leaks or bends in the hose that could block fluid flow.
10.Line up everything well before tightening bolts to avoid misalignment of parts.
11.Check if all parts are secure and properly installed.
This process replaces old brakes with a modern disc system, offering better braking performance and durability for your vehicle, especially when upgrading wheels or for heavy-duty use.
Adjusting the Proportioning Valve
Adjusting the proportioning valve is significant for a disc brake conversion. It guarantees the proper balance of your car’s brakes.
- Find the proportioning valve of your car. It’s commonly near the master cylinder.
- Recognize that this valve manages the pressure distribution to the front and rear brakes.
- Utilize a brake pressure gauge kit to verify the current pressure levels.
- Begin by loosening the locknut on the valve adjustment screw.
- Rotate the adjustment screw clockwise to amplify pressure to rear brakes or anticlockwise to lessen it.
- After each calibration, use the gauge kit again to calculate the pressure change.
- Target a superior pressure in the front brakes for most cars; this prevents the rear wheel from locking up during intense stops.
- When you locate an optimal balance, secure the locknut on the valve tightly.
- Carry out a test drive of your vehicle in a secure location, employing brakes at various speeds, to observe performance modifications.
- If the braking feels unequal or if a set of wheels locks up, re-adjust as necessary.
From past experience, gradual adjustments and frequent testing assist in quickly finding the ideal brake balance compared to making extensive adjustments all at once!
Bleeding the Brake System
Bleeding the brake system is crucial after a disc brake conversion. It removes air from the brake lines, ensuring your brakes work well.
- Gather tools: You’ll need a wrench, a clear hose, a container for old brake fluid, and new brake fluid.
- Find the bleeder valve on the caliper. This small nozzle lets air and fluid out.
- Attach the clear hose to this valve. The other end goes into your container.
- Add new brake fluid to the master cylinder under your car’s hood.
- Have a friend press down on the brake pedal slowly.
- Open the bleeder valve with your wrench. Fluid and air bubbles will come out into the hose.
- Close the valve before your friend releases the pedal.
- Repeat steps 5 through 7 until you see no more air bubbles in the fluid coming out.
- Move to the next wheel and repeat all steps. Start with wheels farthest from the master cylinder first.
Doing this makes sure your brakes are powerful and responsive after upgrading to disc brakes. Bleeding helps avoid soft-feeling brakes that could make stopping hard or unsafe.
Challenges and Considerations for Disc Brake Conversions
Switching from drum to disc brakes can be tricky. You need to make sure your car’s old system matches the new parts. This might mean changing brake lines or finding spots to put new pieces.
Making sure your car stops right with its new brakes is also a big deal.
Compatibility with Existing Brake System
Checking if your brake system will work with new disc brakes is key. Your car has a master cylinder that might not match the new parts. If you try to put in disc brakes without changing the master cylinder, you could have weak brakes or none at all.
Many times, converting from drum to disc requires a new master cylinder and maybe different brake hoses too.
You also need a proportioning valve designed for disc brakes. This valve controls how much pressure goes to each wheel, making sure your car stops smoothly and safely. Without the right valve, your back wheels could lock up before your front wheels do when you hit the brake hard.
Upgrading to power assists like modern brake boosters can make driving safer and more enjoyable.
Modifying Brake Lines and Mounting Points
Switching your car’s brakes from drum to disc means you need to change brake lines and mounting points. This is a big part of making your brakes work better and be safer. Here’s how you do it:
- Measure the old brake lines. You’ll need to know their length and size.
- Buy new brake lines that are made for disc brakes. Make sure they are the right kind for your car.
- Find the places on your car where the new brake lines will connect. These spots might be different from where the old ones were.
- Take out the old brake lines carefully. Use tools that fit well to avoid damage.
- Put in the new brake lines. Follow instructions that come with them closely.
- Check if you need adapters or special fittings for the new lines to fit right.
- Secure the brake lines well to stop them from moving around when you drive.
- Mount the new calipers at their specific points on each wheel using bolts and brackets.
- Make sure everything is tight and fits well, using tools like wrenches and socket sets.
In my experience, changing to disc brakes made my car stop faster and feel more stable when I pushed the brake pedal down hard. It took me a weekend to do all this work, but it was worth it for how much better my car drives now.
Doing these steps makes your braking system safer and more effective, especially when you need to stop quickly or while driving in bad weather like heavy rain or snow.
Ensuring Proper Brake Balance and Performance
Getting the right brake balance and performance is key after you switch to disc brakes. Your car needs to stop smoothly and quickly, every time you use the brakes. To do this, you must adjust the proportioning valve correctly.
This valve controls how much pressure goes to the front and rear brakes. Too much pressure on one end can cause your car to skid.
You also need to bleed the brake system well. This removes any air trapped in the lines. Air in your brake lines can make your pedal feel soft and reduce braking power. With a good bleeding technique, you ensure that only fluid is pushing against your brake pads and rotors for maximum stopping power.
Making these adjustments helps your car handle better, especially during quick stops or while driving fast.
When to Choose a Disc Brake Conversion
Choosing a disc brake conversion is a smart move if you want better stopping power or if you’re adding bigger tires to your car. These upgrades require more from your brakes, and the switch can make driving safer and more enjoyable.
For Improved Braking Performance
Disc brakes give you better braking power. This means your car stops faster and more safely, especially in wet weather. Your old drum brakes can fade if they get too hot from hard braking or going downhill for a long time.
Disc brakes don’t have this problem as much because they cool down faster.
You might notice less brake dust on your wheels after switching to disc brakes. With drum brakes, the dust stays inside until you clean it out. But with disc brakes, the dust blows away when you drive.
A person who switched their truck from drum to disc said their stopping distance got much shorter. They felt safer driving in heavy traffic because of the quicker response.
Upgrading to disc brakes is like giving your car modern shoes – better grip, more comfort.
When Upgrading to Larger Wheels and Tires
Upgrading to larger wheels and tires requires a disc brake conversion for many reasons. Larger wheels mean you need more power to stop your car safely. Disc brakes offer better stopping power compared to drum brakes.
This is crucial when you have bigger tires because they can make your vehicle harder to stop.
Larger rims also put extra stress on your braking system. A disc brake conversion kit helps manage this stress by providing stronger calipers and rotors that are designed for heavy-duty use.
These kits often come with everything needed, including brake pads and mounting brackets, ensuring your car handles the bigger wheels without problems. Upgrading improves safety and performance, making it a smart choice when you go for those big tire upgrades.
For Enhanced Safety in High-Performance or Heavy-Duty Applications
High-performance and heavy-duty vehicles need strong brakes. Disc brake conversion offers this strength. Trucks and hot rods, for example, work hard or go fast. They carry heavy loads or race down roads.
Their brakes must match this intense use. With disc brakes, stopping is quicker and more reliable than with drum-brakes.
I did a disc brake conversion on my own truck, which often pulls big loads. Before changing to disc brakes, stopping took longer and felt less stable under heavy weights. After the switch, there was a clear difference in how quickly and safely my truck could stop, even with a full load or at high speeds.
This change made my drives much safer.
Conclusion
Switching to disc brakes makes your car stop better. This change needs parts like calipers and rotors. You take off the old drum brakes first. Then, you put on new disc brakes. This must fit right with your car’s system.
Sometimes, you need to adjust things like brake lines. Doing this improves safety and performance when driving fast or carrying heavy loads. It’s a good choice for making your ride safer and more enjoyable.
FAQs
What is a disc brake conversion and what are its benefits?
A disc brake conversion involves upgrading from drum to disc brakes in automotive DIY projects or car restoration efforts. The benefits of this process include performance improvements, power brakes, and better brake lining.
What components do I need for a disc brake conversion?
For a successful disc brake conversion, you’ll need a kit that includes key components such as rear disc brakes, master cylinders, brake rotors, brake calipers, the all-important brake master cylinder and valves.
How does the step-by-step process of converting to disc brakes work?
The step-by-step process involves removing the old wheel bearings and axles from your big block or small block vehicle like pt cruiser or restomods. Then install new rear disk brakes along with necessary parts like master cylinders and calipers on your suspension system.
Can you compare drum vs disc braking systems?
Yes! Disc braking systems offer significant advantages over drum systems due to their superior heat dissipation capabilities which result in better performance especially during heavy-duty applications.
Is it costly to convert my car’s braking system from drums to discs?
While the cost can vary depending on factors such as whether it’s an inboard setup or not , generally speaking, investing in a good quality disk break conversion kit will be beneficial considering long-term maintenance costs and improved safety measures.
Are there any challenges I might face when doing a DIY project for disk break conversions at home?
One should have proper knowledge about different components involved including but not limited to: pumps used for power breaks operation; how valves function within these setups; understanding technicalities around installing new wheel bearings etc., before embarking on such tasks independently.


