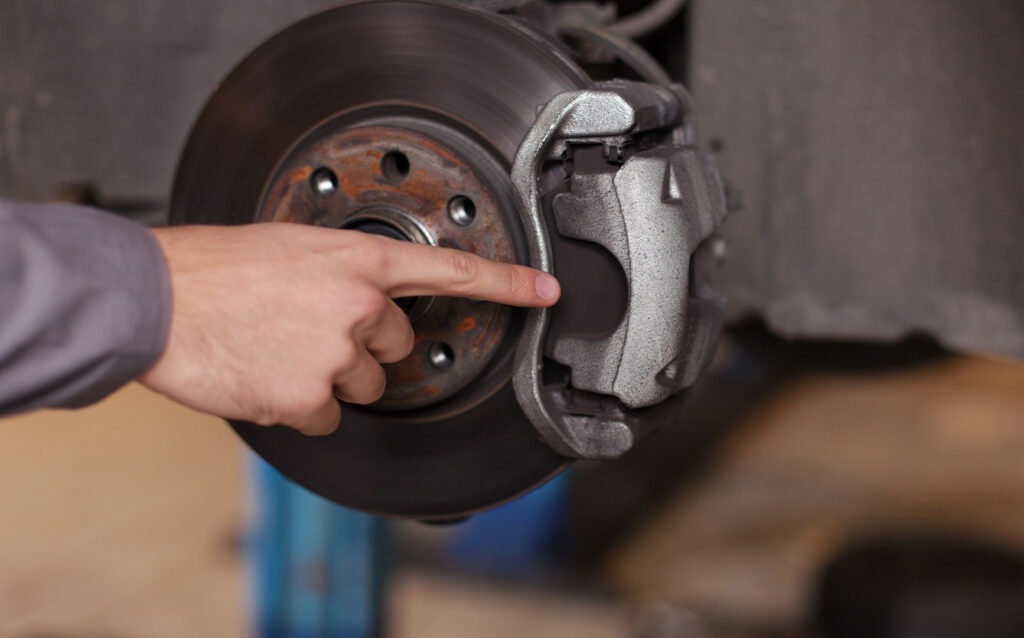
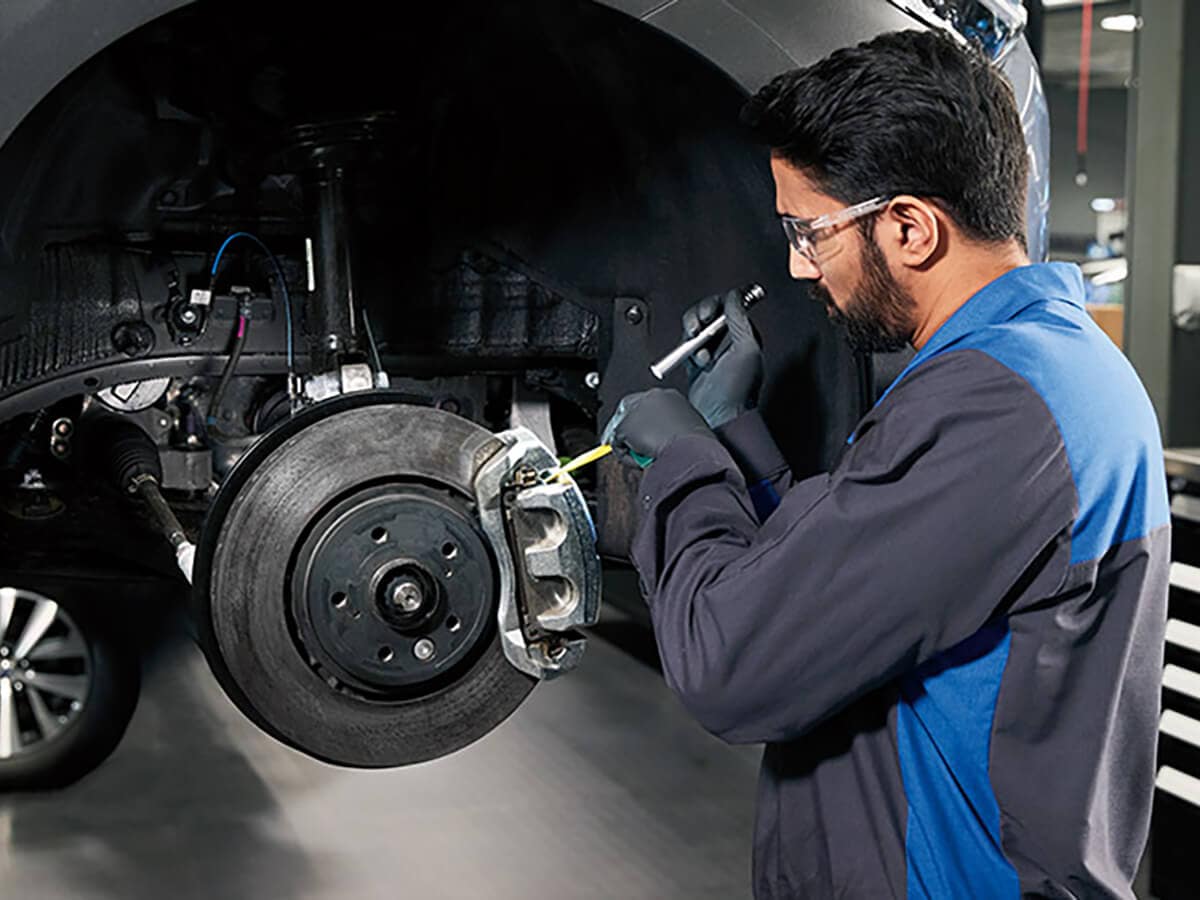
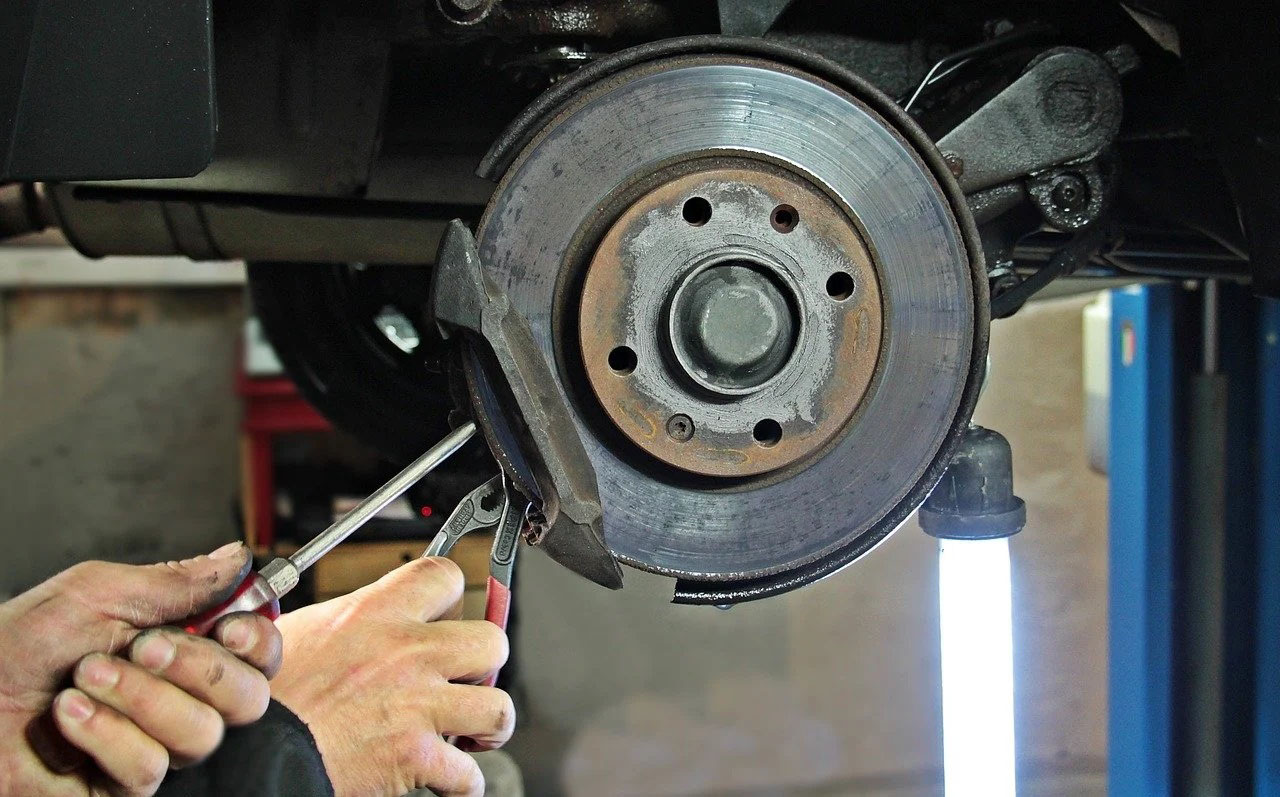
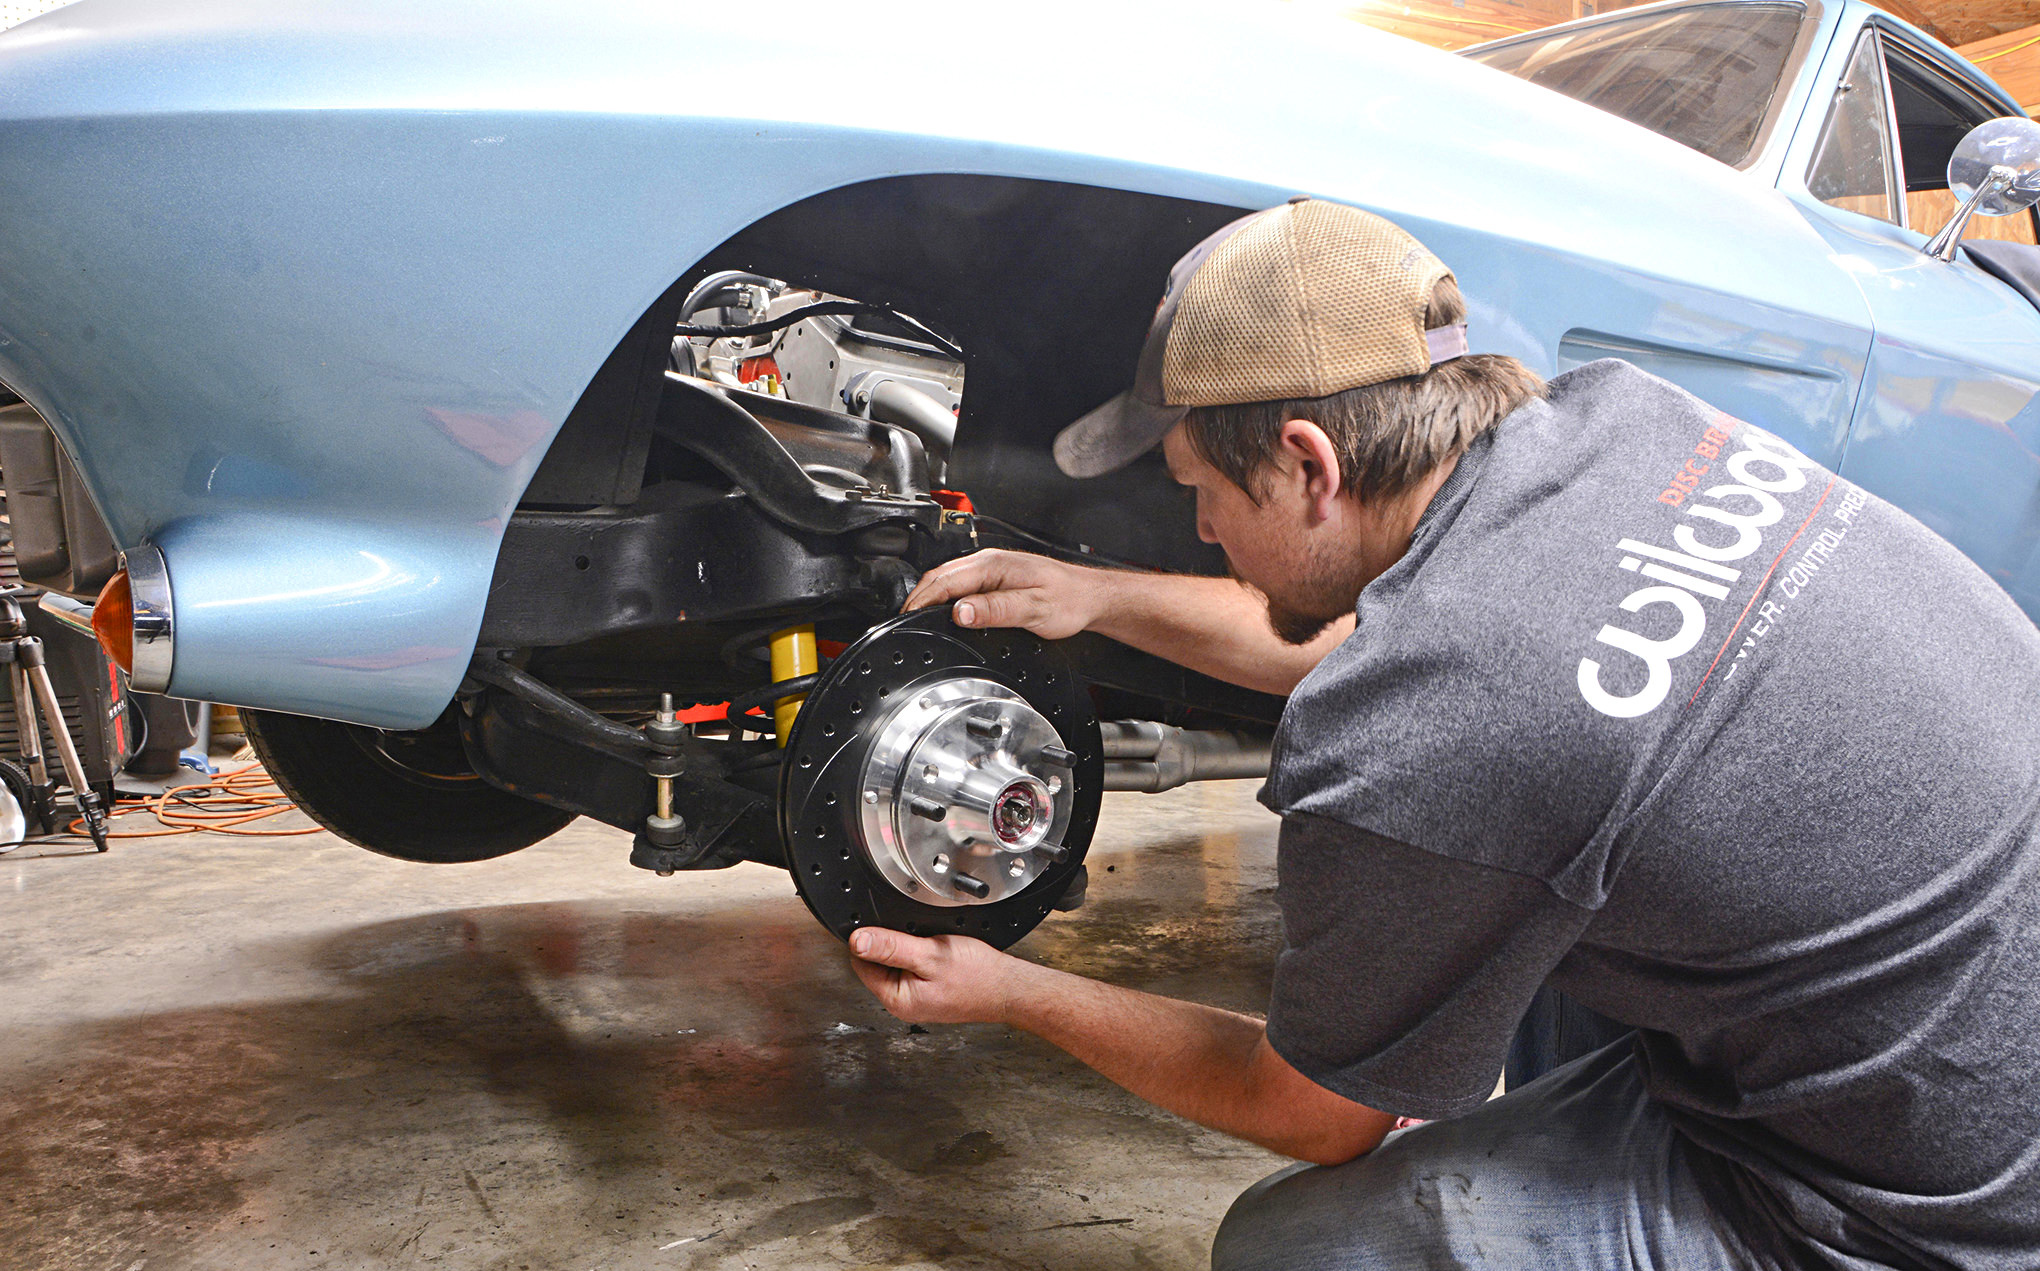
Having trouble with your car’s brakes can be scary. A key point is, are brake rotors measured in thickness? This blog will guide you through how to accurately measure the thickness of your brake discs.
Get ready for safer drives ahead.
Table of Contents
ToggleWhy Measuring Brake Rotor Thickness is Important
Measuring brake rotor thickness keeps your car stopping safely. It helps you know when it’s time to fix or change the rotors, keeping brake performance top-notch.
Ensuring Safe Braking Performance
Measuring the thickness of your brake rotors is key to making sure your vehicle can stop safely. Thin rotors can’t absorb and release heat well. This makes brakes less effective. It’s like trying to slow down while running fast; if you can’t grab onto something sturdy, you won’t stop quickly.
For safe driving, your car needs strong brakes. That’s why checking rotor thickness matters.
Safety comes first on the road. If brake rotors wear down too much, they might fail when you need them most. Imagine pressing the brake pedal and not slowing down in time because the rotors were too thin to work properly.
Use a micrometer or digital vernier caliper to measure them at multiple points. Compare what you find with the manufacturer’s specs for thickness standards for brake rotors.
Every mile you drive wears down your brakes a little more – don’t wait until it’s too late.
Preventing Brake Fade and Rotor Failure
Checking brake rotor thickness is key for your car’s braking system health. Thin rotors heat up faster, leading to brake fade. This happens when the brakes lose their ability to slow the car because of too much heat.
Thick, healthy rotors handle heat better and keep brakes working right.
To stop rotor failure, check for wear and tear often. Change thin rotors before they fail. Using a micrometer or digital vernier caliper helps you know if your rotors are still good.
Safe driving needs good brakes, so keeping an eye on rotor thickness saves you money and keeps you safe on the road.
Determining When to Replace or Resurface Rotors
You need to know if your brake rotors are still good or if they need a fix. This gets clear when you look at their thickness. If the rotor is thinner than the maker’s lowest limit, it’s time for new ones.
Too thin means they can’t absorb and let go of heat well. This makes brakes less effective and could lead to brake system health issues.
Measuring with tools like micrometers or digital calipers shows how thick the rotor is across different points. Uneven wear or deep grooves also suggest problems. In this case, resurfacing might help unless it makes the rotor too thin.
Check against the vehicle’s guideline for minimum thickness standards for brake rotors to decide right. Also, watch out for signs of uneven surfaces like hot spots that mean it might be better to just replace them instead of trying a repair.
Tools and Equipment Needed to Measure Rotor Thickness
To measure rotor thickness, you need a micrometer or a digital vernier caliper. You also must wear gloves and eye protection for safety.
Micrometer or Digital Vernier Caliper
You need a micrometer or digital Vernier caliper to measure brake rotor thickness. These tools help you get exact numbers. They can tell you how thick the rotor is at several spots.
This way, you know if the rotor wears out evenly.
A micrometer checks small distances that your eyes can’t see well. It’s perfect for taking precise measurements of your brake rotors. On the other hand, a digital Vernier caliper can give you quick and accurate results on a screen.
Both tools are key in keeping your vehicle safe by checking wear and tear on brake rotors during routine maintenance checks.
Brake Rotor Thickness Specifications
Brake rotor thickness specifications represent important figures that provide information on the required thickness of your brake rotors for secure braking. Every vehicle model receives unique specifications from the automobile manufacturer.
These details cover the minimum and maximum thickness thresholds. It is crucial to take note of the minimum thickness, as it indicates when the rotor becomes too thin and needs replacement to maintain safety and reliability.
For example, if your Dodge Charger’s front brake rotor has a minimum thickness of 1 inch, it implies that once the rotor thickness falls below 1 inch, it requires replacement.
I previously inspected my car’s brake rotors using a digital vernier caliper while strictly adhering to these specifications. It was a simple process: I detached the tire for rotor access, then took measurements at different sections around it as wear patterns are typically not uniform.
Upon checking, I noticed one of my rotors had fallen below the safety limit – just marginally under its minimum specification – signaling that a replacement was essential to circumvent potential hazards and uphold performance.
This direct involvement underscored the significance of precise measurements compared to the manufacturer’s specifications in preserving the reliability of brakes and preventing an escalation in maintenance expenses due to disregarded rotor wear.
Safety Gear: Gloves and Eye Protection
You need gloves and eye shields to stay safe. Gloves keep your hands clean from brake dust and protect you from cuts. Eye shields stop dust and small parts from getting into your eyes.
This gear is key for safety while you check brake rotors on your vehicle. Make sure the gloves fit well so you can handle tools easily, like micrometers or vernier calipers.
Use gloves made of strong material that can block sharp edges. For your eyes, pick shields that cover all around so nothing gets in from the sides. These steps lower risk as you work on brakes, making sure you do not get hurt by anything unexpected flying up or by touching hot parts near wheels and suspension systems.
Step-by-Step Guide to Measuring Brake Rotor Thickness
Follow this clear guide to check how thick your brake rotors are and make sure your car stops safely. You’ll need a micrometer or digital vernier caliper, which are tools for precise measurements.
First, lift your car and take off the wheel to see the rotor. Then, use the tool at different spots on the rotor to get accurate readings. Write these numbers down and see if they match what your car maker says is safe.
This process helps you understand if it’s time for new rotors or not, keeping you and others safe on the road.
Preparing the Vehicle: Lifting and Securing
First, make sure your vehicle is on flat ground to ensure safety. Use a jack to lift the car carefully off the ground. Place jack stands under the chassis or frame for extra support.
This step keeps you and the vehicle safe while you work on replacing thin rotors or doing brake inspections.
Next, engage the parking brake on your car and block the wheels that remain on the ground with wheel chocks. This prevents any chance of your vehicle moving unexpectedly. You now have secure access to remove wheels and inspect brake components such as brake pads, calipers, and lug nuts.
Always prioritize safety by securing your vehicle firmly before starting any maintenance tasks.
Removing the Wheel to Access the Rotor
To reach the rotor, the wheel needs to be removed first. Ensure your car is parked on a level surface and employ a jack to elevate it. Prioritize the stability of the car before proceeding.
Employ a wrench to remove the lug nuts. Draw the wheel to yourself until it is entirely free.
I performed this task last year on my personal vehicle. Post wheel removal, the brake rotor and caliper were visible without any hindrance. This step, though simple, is crucial for ensuring safety and achieving precise measurements for rotor thickness.
Sufficient lighting is essential for visual clarity. Use gloves as a safeguard for your hands throughout the process.
Positioning the Micrometer at Multiple Points on the Rotor Surface
Place your micrometer on different spots across the rotor’s surface. This tool measures how thick the brake rotor is. You need to check several places because rotors can wear unevenly.
For an accurate reading, press the micrometer gently against the rotor at each point.
I once measured a brake rotor and found significant differences in thickness from one point to another. This shows why checking multiple spots is vital for safety and performance. Each spot you measure gives you more information about the overall condition of your brakes.
Recording the Measurements and Checking for Variations
Write down the numbers you get from the micrometer or digital caliper at different spots on the rotor surface. You need to do this because rotors can wear unevenly. This step helps find any thin areas that could mean your brakes won’t work right.
Compare these measurements with what the car maker says is safe for your vehicle’s brake system.
Look for big differences in thickness as you check various parts of the rotor. If one part is much thinner than others, it might be time to replace or fix the rotor. Staying within safety limits keeps your brakes working well and prevents accidents.
Always use gloves and eye protection while handling brake parts to stay safe during this process.
Comparing Results with Manufacturer Specifications
After you measure the rotor thickness with a micrometer or a digital caliper, check these numbers against what the vehicle maker says is right. Each car has its brake specs, which you can find in the vehicle’s manual or online.
These specs tell you the minimum and maximum thickness for safe braking. If your rotors are too thin, they won’t work well and could be unsafe.
I once checked my car’s rotors after feeling a shake when I braked. Using my digital caliper, I found out they were below the manufacturer’s minimum thickness. This meant it was time to replace them instead of just resurfacing.
Matching your findings with the official specifications helps make sure your brakes do their job well and keeps driving safe for everyone on the road.
Interpreting the Results
After you measure the rotor thickness, look at what your numbers mean. Find out if your rotors are thin or thick enough for safe use. Check them against what the car maker says they should be.
This step helps you decide if it’s time to fix or change the rotors on your car. Learn more about how to do this right and keep your brakes working well.
Understanding Minimum and Maximum Thickness Limits
Every brake rotor possesses a designated range for minimum and maximum thickness determined by the vehicle’s manufacturer. These ranges are crucial for ensuring your safety and the effectiveness of the brake system.
When a rotor falls below the minimum thickness, its ability to absorb and manage heat weakens, potentially leading to brake fade or complete failure during high-intensity usage. Conversely, using rotors that adhere to their recommended thickness range assures desirable contact with the brake pads, efficient halting power, and prolonged brake lifespan.
Drawing from personal accounts, disregarding these specifications can potentially lead to expensive repairs and hazardous driving conditions. There was a time when I persisted in driving with worn-out rotors, believing I could extend their usage.
This resulted in weakened braking, particularly during instances necessitating immediate stops. It served as a potent reminder to consistently compare my rotors’ thickness with the figures specified by the manufacturer, available in the vehicle’s maintenance guide or on internet forums catering to your car model.
The adage “Measure twice; cut once” is perfectly suited for maintaining the ideal rotor thickness for safe driving experiences.
Identifying Wear Patterns and Hot Spots
Identifying wear patterns and hot spots on brake rotors tells you a lot about their condition. Uneven wear can cause braking issues and may signal that it’s time for maintenance. Look at different parts of the rotor surface with a micrometer to find thin areas or spots that look discolored from heat.
This tool helps spot tiny differences in thickness that you can’t see just by looking.
Hot spots are areas where friction has overheated the metal, making it harder than surrounding parts. These spots don’t cool down as fast, leading to more wear and even warping over time.
If your measurements show uneven thickness or you spot discolored areas, your rotors might need resurfacing or replacing to ensure safe braking performance.
When to Resurface vs. Replace Rotors
Choosing to resurface or replace rotors depends on their condition and thickness. If your rotor’s wear is even and only has minor scratches, you might just need a lathe to smooth them out.
This process is called resurfacing. It can save money while keeping your brakes working well. But, this only works if the rotor is above its minimum thickness level. You find this number in your vehicle’s guide.
On the other hand, you must replace rotors if they are too thin, warped, or badly scored. Thin rotors can’t absorb heat from braking well, leading to brake failure. Warped or unevenly worn rotors cause vibrations and reduce braking power.
In these cases, no amount of smoothing will make them safe again. Always compare your measurements with the specs listed for your car to decide correctly between resurfacing or replacing.
Common Mistakes to Avoid When Measuring Rotor Thickness
Measuring your brake rotor thickness with the wrong tools can mess up your results. Failing to check different parts of the rotor surface for wear and tear will not give you a full picture of its condition.
Using the Wrong Measurement Tool
Choosing the right tool is key for measuring brake rotor thickness accurately. A ruler or tape measure won’t work because they can’t measure small, precise distances that micrometers or digital Vernier calipers can.
These tools give exact measurements vital for your vehicle’s brake safety and performance. Using a wrong tool means you might miss small but critical changes in rotor thickness.
Precision in measurement equates to safety on the road.
With the correct tools, like a micrometer or digital Vernier caliper, you ensure accurate readings down to thousandths of an inch – crucial for deciding if rotors meet specifications.
This accuracy helps avoid unnecessary maintenance costs and ensures your vehicle remains safe to drive. Make sure you use these specific tools for reliable results every time.
Not Measuring at Multiple Points
Measuring brake rotor thickness just at one spot is a mistake. The rotor can wear unevenly. This means some parts might be thinner than others. You need to check the thickness at several places on the rotor surface.
Use a micrometer or digital vernier caliper for this task. These tools help you get accurate measurements.
If you skip this step, you won’t see how the rotor wears over time. Uneven wear leads to poor braking performance and can make your vehicle unsafe to drive. Always compare your findings with the manufacturer’s specifications for rotor thickness.
This tells you if it’s time to replace or resurface your rotors based on their condition and wear patterns.
Ignoring Rotor Runout or Surface Variations
Ignoring rotor runout or surface differences is a big mistake. Rotor runout happens when the rotor does not spin perfectly flat. Think of it as a wobbly plate on a stick. This problem can lead to uneven wear and tear on your brakes, making them less effective.
Surface variations are also critical to watch for. They include things like grooves or uneven spots on the rotor’s face that can happen from use over time.
To check for these issues, you need the right tools like a dial indicator for runout and a micrometer for thickness measurements at different points around the rotor. If you skip these steps, your vehicle might not stop as quickly when you hit the brakes.
It could cause more damage to your brake system in the long run, leading to costly repairs or even unsafe driving situations. Always measure at multiple points and compare what you find with the specifications from your car’s maker to make sure everything is within safe limits.
Conclusion
Measuring brake rotor thickness is key for your car’s safety and performance. You need tools like a micrometer or caliper, along with knowing the right specs. This process helps spot when to fix or swap out rotors, cutting down on brake fade and failure risks.
Avoid common errors such as using incorrect tools or skipping spots on the rotor surface. Being accurate ensures your brakes work well and keeps you safe on the road.
FAQs
Why is it important to measure brake rotor thickness?
Measuring brake rotor thickness is crucial for vehicle safety and performance. Brake rotors dissipate heat generated by the energy of stopping your vehicle, and their thickness impacts this heat dissipation. Worn-out rotors can cause noise, affect brake performance, and even lead to failure.
What tools do I need to measure my car’s brake rotor thickness?
To perform a DIY measurement of your vehicle’s brake rotor thickness, you’ll need a few specific tools including a micrometer or caliper gauge that meets the specifications required for accurate readings.
How often should I check the thickness of my car’s brake rotors?
The frequency of checking your car’s rotor wear and tear depends on various factors like mileage covered, driving conditions, and the type of brakes installed in your vehicles. Regular inspections during scheduled vehicle inspections will help maintain optimal braking performance.
Can I measure the brake rotor thickness without removing any parts from my car?
No, you would have to remove the wheel first before measuring the brake rotor’s thickness accurately using either a micrometer or caliper gauge tool; also remember that there might be an additional step needed which involves removing certain components such as the”brake line” or “brake caliper”.
Where can I find information about minimum allowable rotor Thickness?
Information regarding minimum allowable Rotor Thickness is usually found in manufacturer guidelines included with new vehicles or replacement parts inventory data.


