Changing brake pads can seem hard. Did you know brake pads are key to your car’s ability to stop safely? This article shows you how to prep when changing brake pads, step by step. Let’s get started.
Table of Contents
ToggleTools and Equipment Needed
To start changing brake pads, you’ll need the right tools and gear. Make sure you have wrenches, a car jack, and safety glasses to protect your eyes.
Essential Tools for Brake Pad Replacement
Changing your brake pads is a key part of vehicle maintenance. With the right tools, you can do this job yourself.
- Jack and jack stands: You need these to lift and hold your car safely off the ground.
- Lug wrench: Use this to remove the wheels from your car.
- C-clamp or brake caliper tool: These tools push the caliper piston back in place.
- Ratchet and socket set: Needed for removing and tightening various bolts on the brake system.
- Brake cleaner: Cleans the brake parts and helps improve function.
- New brake pads: Make sure you have the correct pads for your car model.
- Gloves: Protect your hands from grease and sharp objects during the work.
- Safety glasses: Keep your eyes safe from dust and debris.
- Wire brush: Cleans rust and dirt off the brake components.
- High-temperature lubricant: Applies to certain parts to ensure they move freely.
I learned these steps firsthand when I first changed my car’s brake pads. It was a clear day, perfect for some DIY car maintenance in my garage. The most challenging part was getting the old, worn-out pads out because they were really squeezed into place after miles of use on roads filled with stop-and-go traffic, hills, and occasional quick stops that put a lot of wear on them.
Using the c-clamp to compress the caliper piston was straightforward but required some elbow grease; it felt like a real accomplishment once done correctly! Cleaning everything with a wire brush and brake cleaner made the new parts fit smoothly, improving braking power right away.
So, gather these tools before you start replacing your brake pads to ensure a smooth operation from start to finish!
Recommended Safety Gear
Safety comes first when you’re working on your car’s brake system. Wearing the right safety gear can keep you protected from harm. Here’s what you need:
- Safety glasses or goggles: These shield your eyes from dust, debris, and any chemicals you might use during the brake pad change.
- Work gloves: Pick a sturdy pair to protect your hands from sharp edges and hot surfaces around the brakes.
- Dust mask or respirator: Brake pads can create harmful dust that isn’t good to breathe in. A mask keeps you safe from inhaling it.
- Ear protection: Some tools used in brake replacement are loud. Earplugs or earmuffs help protect your hearing.
- Steel-toe boots: Heavy parts and tools could fall on your feet. Steel-toe boots offer strong protection.
- Long-sleeve shirt and pants: Covering up helps avoid scratches and cuts from working around vehicle parts.
Each item plays a critical role in keeping you safe while you work on changing brake pads, inspecting calipers, or dealing with disc brakes and drum brakes on different vehicles like cars, trucks, and even older used cars. Always put on this gear before starting the job to ensure a safer work environment.
Lubricants and Cleaning Supplies
You need the right lubricants and cleaning supplies to change brake pads successfully. This ensures your vehicle’s braking system works smoothly and safely.
- Brake cleaner: This spray removes dirt, oil, and brake fluid from the brake discs and other components. It helps improve brake performance.
- High-temperature grease: Apply this on caliper pins and the backs of the brake pads. It prevents squeaking and allows parts to move freely.
- Silicone paste: Use this for rubber parts like bushings in the caliper assembly. It keeps rubber from drying out or cracking.
- Wire brush: This tool helps clean rust and debris off the rotor surface and other metal parts without damaging them.
- Soft cloths: You’ll need these for wiping surfaces clean after spraying them with brake cleaner.
- Sandpaper or emery cloth: Sometimes, you have to smooth out minor imperfections on the rotor or remove rust before installing new pads.
- Disposable gloves: Keep your hands clean and protected from chemicals while working with various substances.
- Protective eyewear: Always protect your eyes from dust, debris, and chemical splashes when cleaning or sanding brakes.
Each of these items plays a crucial part in preparing your vehicle for new brake pads. Ensuring everything is clean and well-lubricated prevents future problems with your braking system.
Preparing the Vehicle
Before changing brake pads, get your car ready. Make sure to park on a flat surface and use jack stands to keep the car stable while you work. This ensures safety and makes access to the brakes easier.
Parking on a Flat Surface and Securing the Vehicle
Find a flat surface to park your vehicle before you start changing the brake pads. This is crucial to keep it stable while you work. Make sure the parking brake is set tight. Then, use wheel chocks on the tires opposite of where you’ll be working.
For example, if you’re fixing the front axle brakes, place the chocks behind the rear axles.
Securing your vehicle properly is step one in any successful DIY car maintenance task.
Turn off your automobile and take out the key from the ignition to ensure it doesn’t accidentally move. These steps prevent danger and make sure your work area is safe for changing brake pads or inspecting other parts like lug nuts or hydraulic brake lines.
Using Jack Stands and Wheel Chocks
First, park your car on a level surface to ensure it’s safe to lift. Use the parking brake for extra security. Place wheel chocks behind the wheels that will stay on the ground. This stops the car from rolling when you lift it with a jack.
Next, use a sturdy jack to raise your vehicle off the ground. Once lifted, slide jack stands under the car at its specified support points. These are strong areas designed to hold up a car safely.
Lower your vehicle slowly onto these stands, making sure it’s stable before you start working on changing brake pads or inspecting brake components. Always double-check that both the jack stands and wheel chocks are securely in place to avoid any accidents while you work under your vehicle.
Removing the Wheel Safely
Park your car on a flat surface and make sure it’s secure. Turn off the engine and put on the parking brake to stop the vehicle from moving. Find the right spot under your car for the jack.
Lift the car slowly with the jack until one wheel is off the ground. Use a lug wrench to loosen each lug nut. Do this by turning them counterclockwise, but don’t take them off completely yet.
Once all lug nuts are loose, lift the vehicle higher if needed until you can easily remove the wheel. Now, take off all lug nuts and put them in a safe place so you won’t lose any.
Carefully pull off the wheel from its hub and set it aside where it won’t be in your way or get damaged. Doing this makes room for you to work on replacing brake pads safely without getting hurt or damaging parts of your vehicle like brake rotors or calipers.
Inspecting Brake Components Before Pad Replacement
Checking your car’s brake parts before putting in new pads is key. Look at the brake discs for any damage or wear, inspect the clamp condition, and check if the brake fluid is clean and full.
This step makes sure your brakes work well and stay safe. Keep reading to learn how to do this right.
Checking Brake Rotors for Damage or Wear
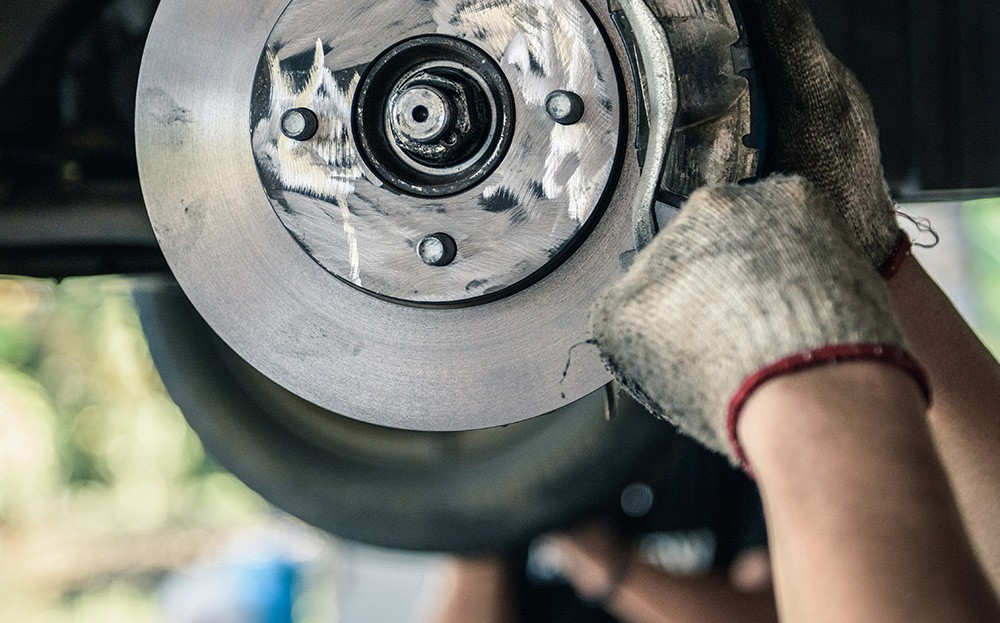
Look at your car’s brake rotors closely. These are the big discs that your brake pads grab onto to stop the car. You’ll need to see if there are any signs of damage or too much wear.
Good rotors should have a smooth surface. If you see deep grooves, cracks, or they look uneven, it’s time to replace them. This is important because damaged rotors can make your brakes less effective and safe.
Always check both sides of the rotor; sometimes damage isn’t visible on one side.
From my own work on cars, I learned that feeling for rough spots with your fingers also helps find issues you can’t see. Just make sure everything is cool before you touch anything! Wear gloves for safety and cleanliness.
Small marks might be okay, but anything that catches your nail is a sign of trouble.
Inspecting Caliper Condition
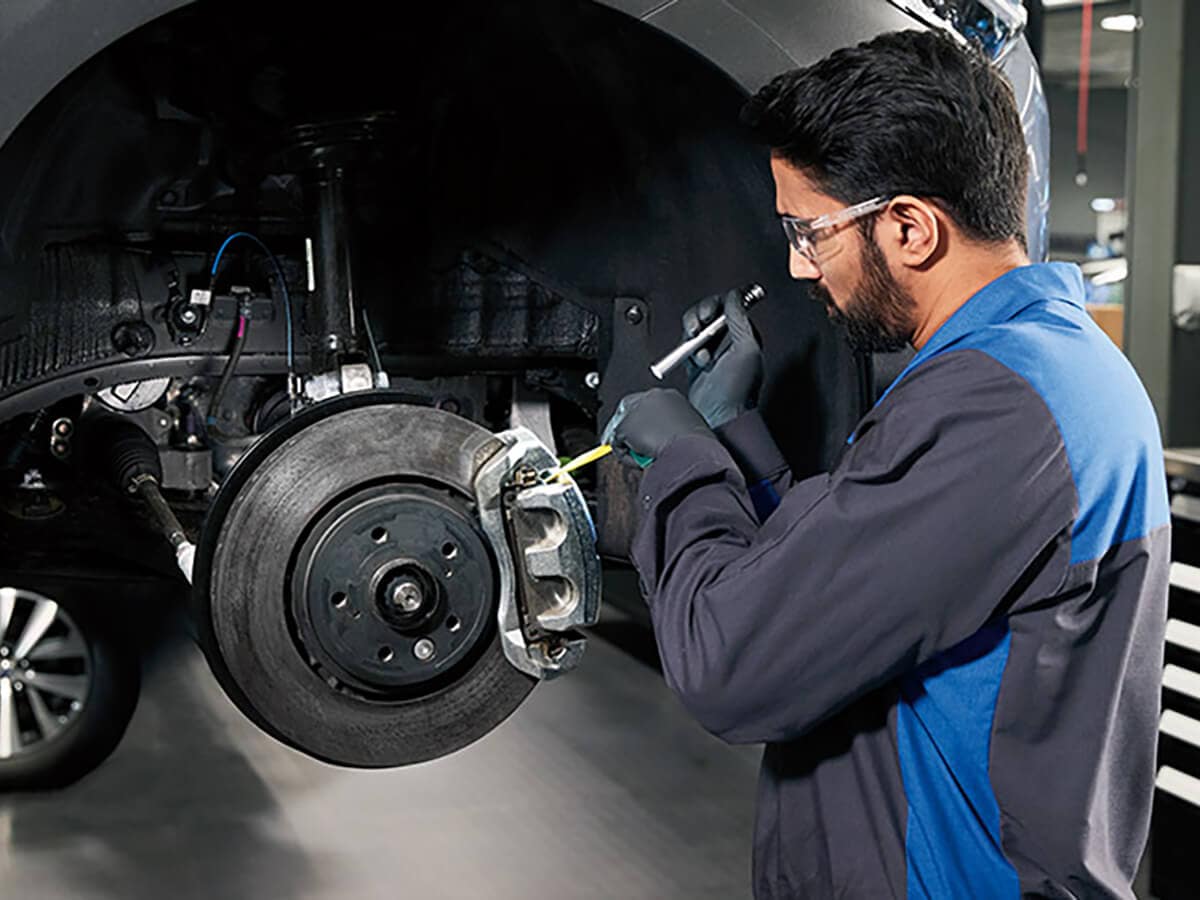
You need to check the caliper’s condition in your brake system. A stuck caliper can cause the brake pads to wear unevenly. Look for signs of leaking brake fluid around the caliper pistons.
This is a sign that you might need new seals or a new caliper.
I once worked on a car with worn-out brakes. The driver had ignored unusual noises when braking. When I checked, I found one caliper was not moving freely, causing one pad to wear much faster than the other.
Always make sure your calipers can move easily and are not leaking any fluid. If they don’t move right or leak, get them fixed before changing pads. This ensures your safety and keeps your vehicle running well.
Evaluating the Brake Fluid Level and Condition
Check the brake fluid level in your vehicle’s master cylinder. It should not be too low. If it is, this means you might have a leak or your brakes are wearing down. The brake fluid should be clear or slightly yellow.
Dark or dirty fluid can mean there are problems inside the brake system.
Change the brake fluid if it looks dirty or has been in use for more than two years. Dirty fluid can damage important parts like the master cylinder and brake pads. This keeps your car safe and saves money on repairs.
Cleaning and Preparing Brake Components
Cleaning brake components is key before putting in new pads. Use a cleaner to remove dirt and grease from the caliper slides and pins. Then, apply lubricant where parts move to keep everything working smoothly.
Using Brake Cleaner to Remove Contaminants
Spray brake cleaner on the parts of your brake system to clean them. This step gets rid of dirt, grease, and other bad stuff that can stop your brakes from working well. It’s important because clean brakes work better and last longer.
Make sure you wear gloves and keep the area well-ventilated when using brake cleaner. This is for safety.
I have done this myself many times. First, I take off the wheel to reach the brakes. Then, I spray every part with brake cleaner until all the parts look clean. Finally, I let them dry before putting everything back together.
Following these steps makes my brakes work like new again.
Cleaning Caliper Slides and Pins
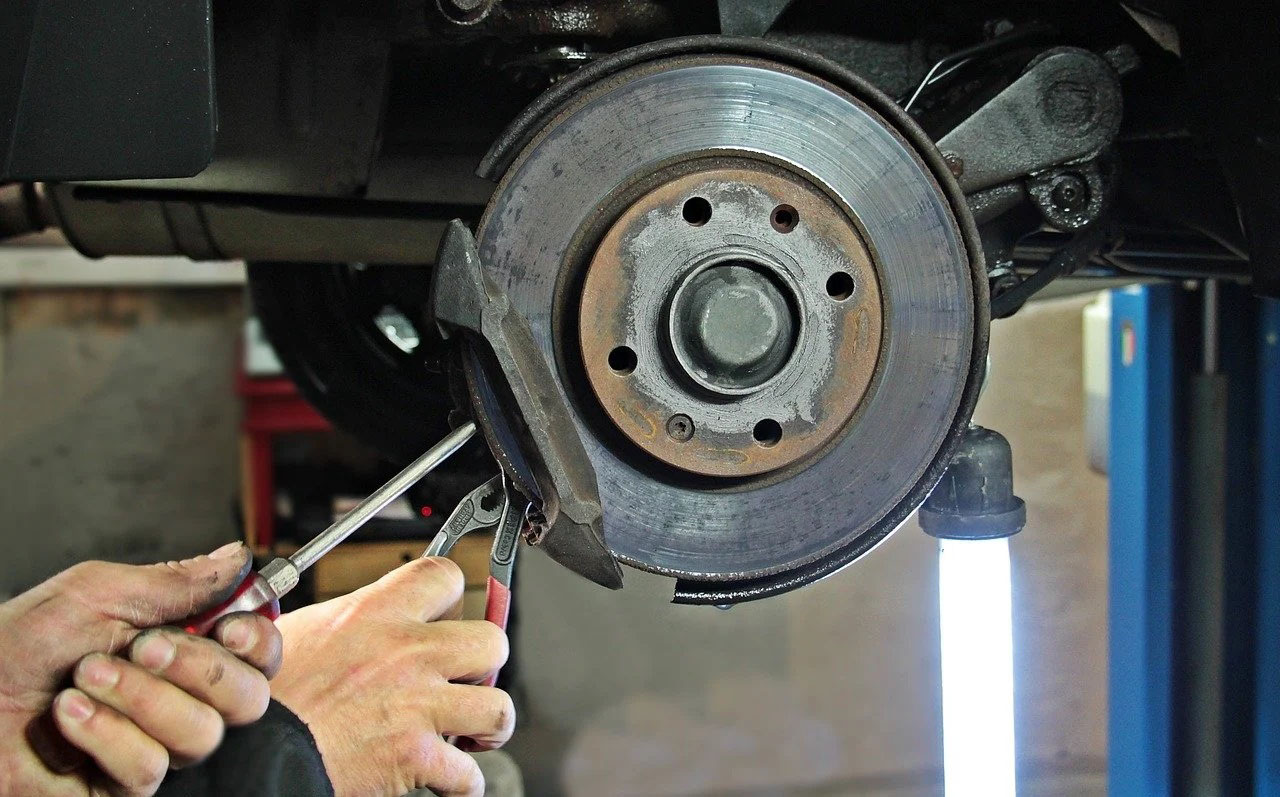
Cleaning caliper slides and pins is a key step in your DIY brake change process. First, take the caliper off the bracket. You will see the slides and pins inside. These parts let your caliper move smoothly when you press and release the brake pedal.
If dirt or rust builds up here, your brakes won’t work right.
Use a wire brush to scrub off any rust from the slides. Then, clean out old lubricant from inside where the pins sit using a cloth soaked in brake cleaner. Make sure they’re completely dry before you apply new lubricant.
This helps everything move freely without sticking or seizing up.
Keeping caliper slides and pins clean ensures smoother braking and extends the life of your brake components.
This cleaning also prevents squeaking noises when you use your brakes. After everything is clean and lubed, reassemble the parts as they were.
Ensuring Proper Lubrication of Moving Parts
Lubricating the moving parts in your brake system is key. This stops them from wearing out fast and keeps noise down. You need to use the right grease for brake components. For example, apply a thin layer of high-temperature grease on caliper slides and pins.
This helps everything move smoothly when you press the brake pedal.
I learned this from doing it myself on my car’s front axles. First, clean off any old grease or dirt from these parts. Then, spread new grease carefully but don’t get any on the brake pads or rotors.
If grease gets on those parts, it can make your brakes work poorly. Always check the manual if you’re unsure about where to apply lubricant in your vehicle’s brake system.
Organizing the Workspace
To get ready for changing brake pads, setting up your workspace is key. Keep new pads and tools close by to make the job quicker and easier.
Keeping New Pads and Components Accessible
Keep your new brake pads and other parts within easy reach. Lay out all the tools and components you will need before starting. This saves time and prevents mistakes during the brake pad change.
Place the pads, calipers, and any lubricants on a clean surface next to you. This way, you won’t have to stop in the middle of your work to find something.
Make sure all necessary equipment for replacing brake shoes is organized. Use labels or small containers for tiny parts like screws or clips. Having everything sorted makes it easier to grab what you need without looking away from your work area.
This keeps your focus sharp and helps avoid accidents with vehicle brakes or other tools around you.
Arranging Tools for Efficient Workflow
Arrange your tools and components within easy reach before you start. Place brake pads, lubricants, and cleaning supplies on a bench or table nearby. This way, you won’t have to stop mid-job to find what you need.
Set out your ratchet set, wrenches, and pliers in the order you’ll use them. I learned this method helps speed up the process without confusion during my first brake pad replacement.
Keep safety gear like gloves and glasses close by too. You want to protect yourself at all times while working on vehicle maintenance tasks.
Organizing your work area saves time and keeps you safe.
Maintaining a Clean and Safe Work Area
Keep your work area clean and safe to avoid accidents. Place tools on a bench or shelf after using them. This stops you from tripping over them. Clear away oil spills right away to prevent slips.
From my own experience, putting sharp objects like screwdrivers in a separate box saves time and reduces injury risk.
Wear safety glasses and gloves while working with brake systems on automobiles. Brake dust can harm your eyes and skin. A tidy space helps you find the right tool quickly, making the job smoother and safer.
Always double-check that brakes, friction surfaces, and drums are clear of debris before starting work.
Conclusion
Changing your car’s brake pads is a smart move. It saves you money and keeps your ride safe. You’ve learned about the tools, safety gear, and steps needed for this job. From parking on flat ground to checking each part of the brake system, every detail matters.
Make sure the area is clean and all parts are within reach before starting. This way, you can change brake pads with confidence and know your vehicle is in top shape for any journey ahead.
FAQs
What is the checklist to follow before changing brake pads?
Before changing brake pads, you should prepare your vehicle, gather necessary tools for brake pad replacement and perform a thorough brake system inspection. This includes checking the condition of your brakes, inspecting the brake-pad and drum, and ensuring all safety measures are in place.
What preparatory steps do I need to take for a brake pad change?
The preparatory steps for a brake pad change involve conducting inspections on your passenger vehicles’ braking system. You need to ensure that your working area is safe, you have all necessary tools at hand, and most importantly – that it’s indeed time for a change based on wear signs observed during inspection.
Why is it important to inspect my brakes before changing the pads?
Inspecting brakes before changing pads helps motorists identify any potential issues within their braking systems like worn-out alternators or jump start needs as per Edmunds maintenance tips. It ensures car safety procedures are followed and prevents unnecessary replacements thus saving costs.
How can I ensure my safety while changing my vehicle’s brake pads?
To ensure your safety while replacing the break-pads; always use appropriate protective gear such as gloves & eyewear; avoid working under an improperly supported vehicle; never ignore manufacturer’s instructions regarding torque settings etc., adhering strictly to these car safety procedures help prevent accidents.
What tools will I need when preparing to replace my vehicle’s brake pads?
Necessary tools needed when preparing for a break-pad replacement include but not limited: A jack stand or hydraulic jack for lifting up part of the car safely; wrenches of various sizes depending on make/model specifics; C-clamp or similar tool used compress caliper piston back into its housing among others.


